Virtual furniture staging adds digital furniture to a real listing photo so buyers can understand a room's use and scale. The useful version changes the furniture—not the walls, windows, flooring, fixtures, or layout. This is a practical guide for listing agents and real-estate photographers who need an image to look credible online and at the showing.
Disclosure: VirtualStaging.tools operates the product discussed here. The examples below are product-generated demonstrations made from project source images, not customer listings or outcome claims. Product terms are identified as our own; industry facts link to their primary sources.
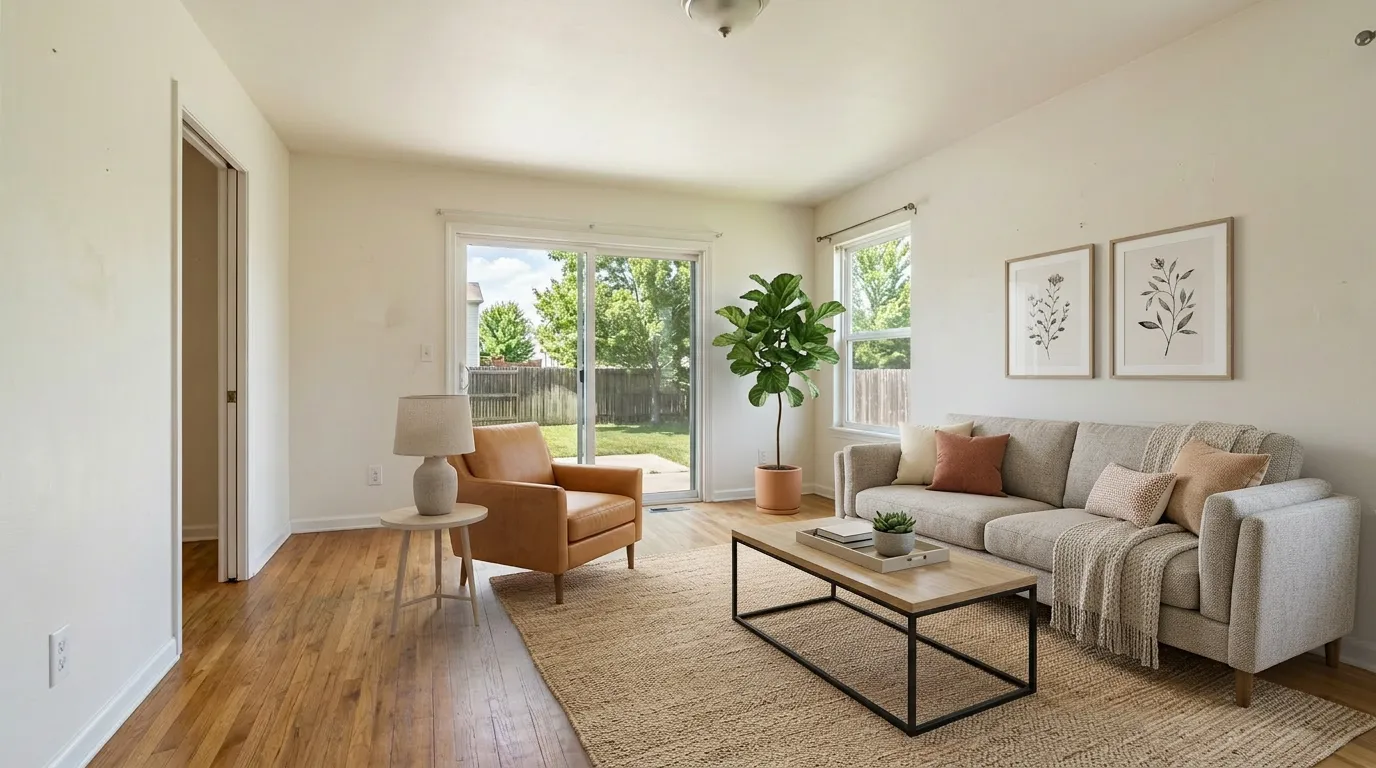 BeforeAfter
VirtualStaging.tools product example · Furniture and décor added; original room retained for comparison.
What changed in this listing photo—and what did not
What changed: the living-room furniture, rug, artwork, and décor. They show a possible seating layout and help a buyer judge how the room can be used.
What stayed unchanged: the room envelope and its condition—the walls, windows, flooring, ceiling, built-ins, and camera viewpoint. Those are the facts a listing photo must continue to show.
That distinction is the point of furniture staging. Adding movable furniture to an empty room can clarify scale; repainting walls, swapping flooring, removing damage, or inventing a window is a different kind of alteration and needs a different, clearly labeled use case. For the broader definition and disclosure context, see What Is Virtual Staging?.
How to tell whether virtual furniture looks real
Before you publish, inspect the staged image at full size and compare it with the original. These are the checks that matter for furniture staging.
1. Furniture scale fits the actual room
Use anchors already in the photo—door width, window height, floorboards, outlets, and the room's traffic path. A small secondary bedroom should receive a bed and nightstands that leave believable clearance, not a scaled-down king bed that makes the room look larger than it is. If a loveseat is the honest fit, use a loveseat.
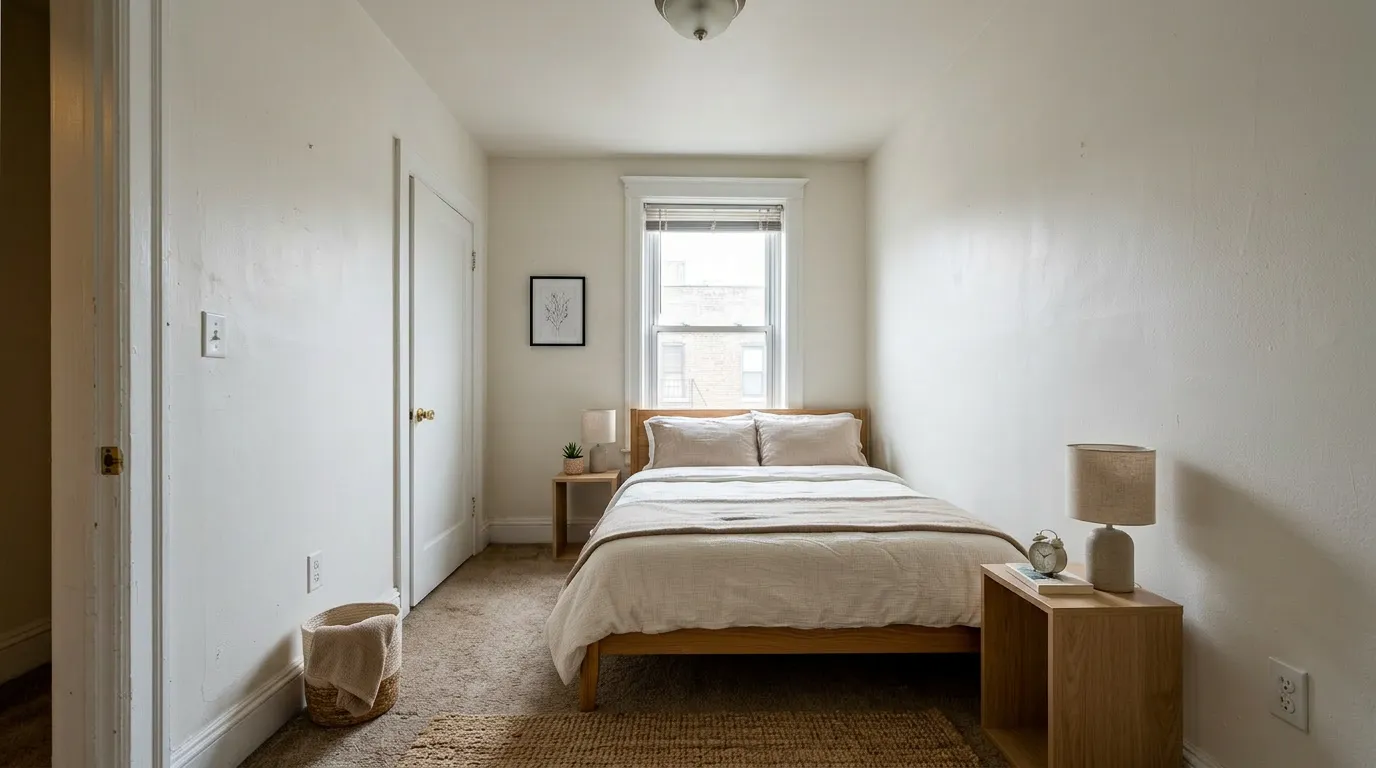
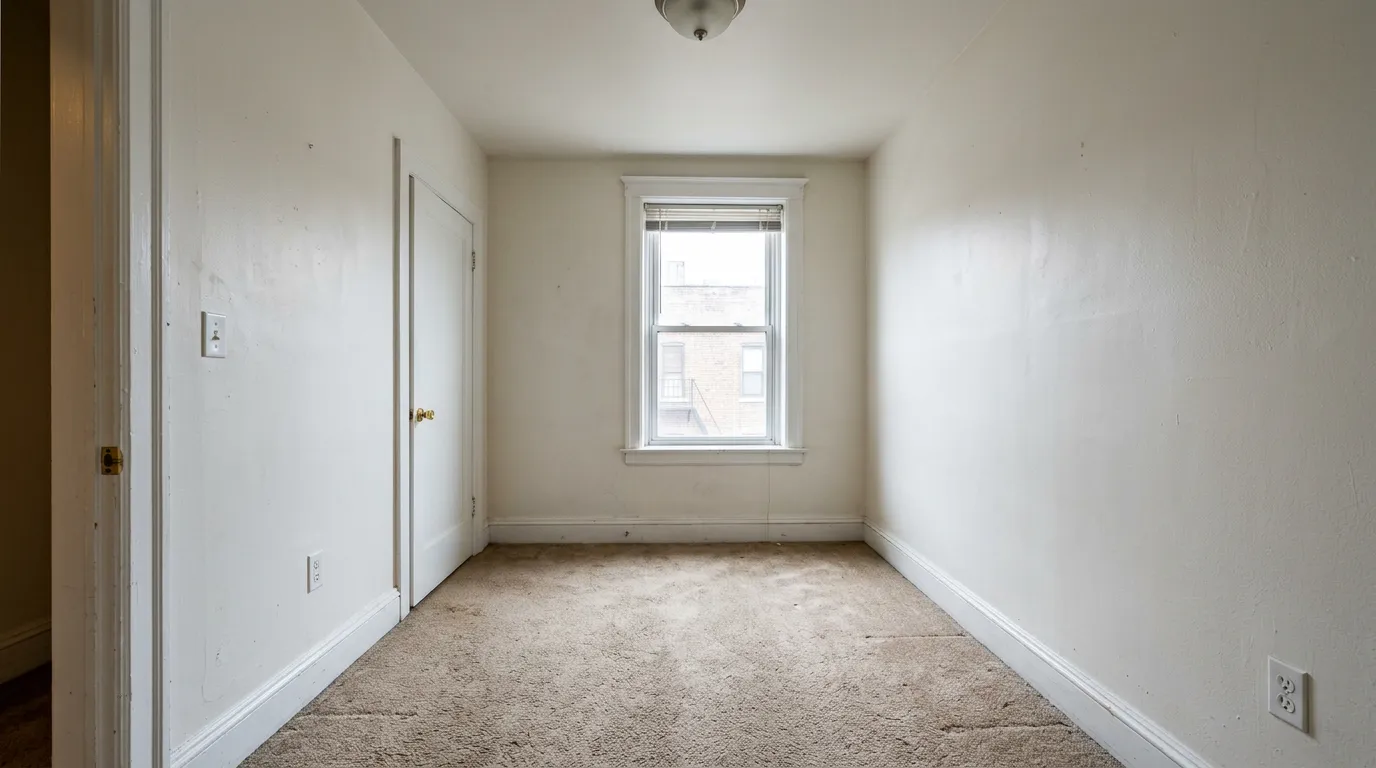
VirtualStaging.tools product example · Furniture scaled for the visible room width and circulation.
2. Perspective follows the camera
Table edges, sofa arms, and rug lines should follow the same vanishing direction as the floor and walls. Look especially at furniture close to the foreground: an otherwise attractive result can still look pasted in when its perspective does not match the lens.
3. Shadows, lighting, and floor contact agree
Every furniture leg, rug edge, and low object needs a believable contact with the floor. Check that highlights and shadows agree with the window light and other illumination already in the room. A floating nightstand or a cool-lit catalog sofa in a warm afternoon room is a reason to regenerate.
4. The same room stays consistent across angles
Stage the lead angle first, then carry its furniture plan into every other view of that room: sofa shape and color, rug, major art, and placement. When the same sofa changes color or moves between carousel photos, buyers can spot the mismatch immediately. If a tool supports reference images, use the approved first angle; otherwise reuse a short written furniture plan for each angle.
5. The room still reads as the room you photographed
Compare the output against the original for walls, windows, doors, flooring, fixtures, and visible condition. Do not publish a result that quietly changes any of those. The best virtual furniture staging is restrained: enough furniture to explain the room, with open floor space and normal circulation left visible.
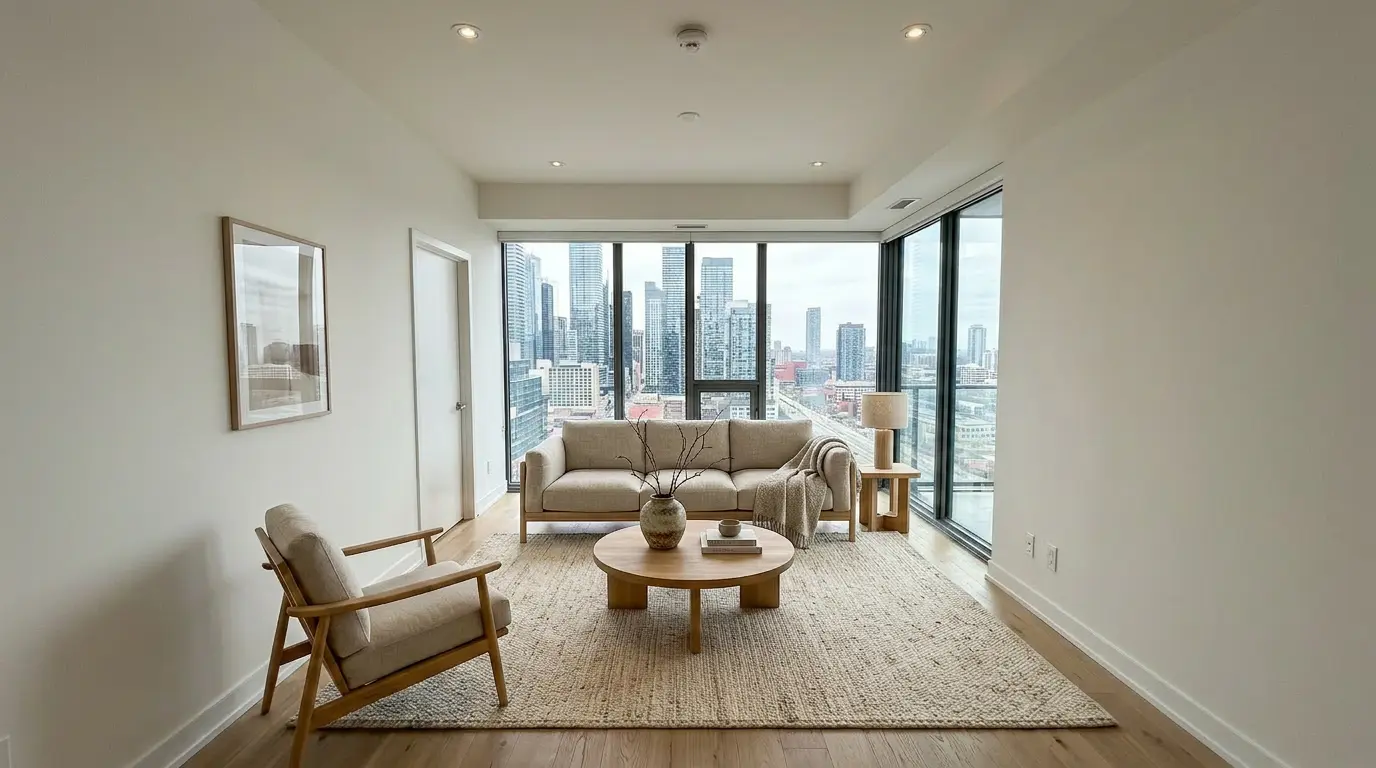
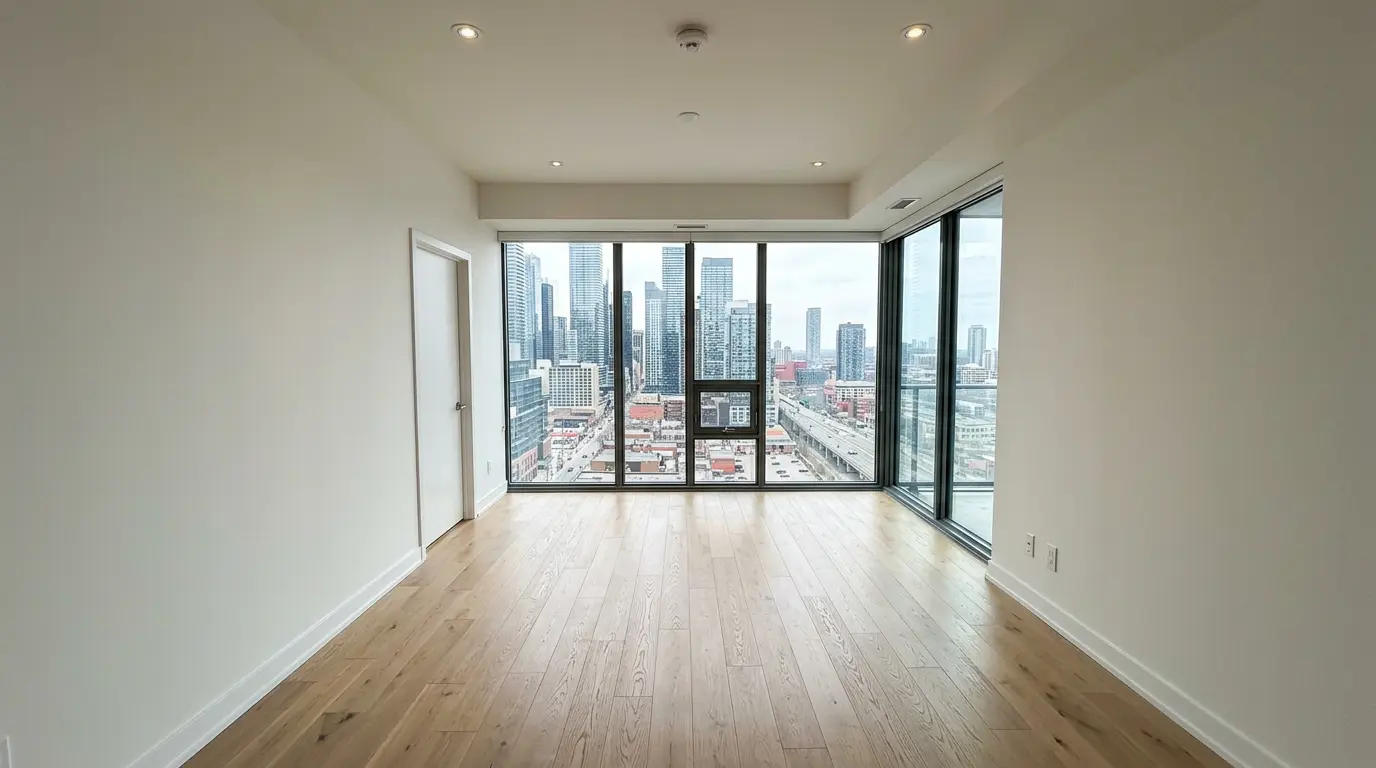
VirtualStaging.tools product example · Furniture added; original light, windows, and room geometry retained.
Choose furniture from the property—not assumptions about the buyer
Avoid choosing furniture from an unverified age or demographic rule. Start with what the photo and listing already tell you:
- Architecture and existing finishes: keep the furniture's lines and materials compatible with the home's visible character.
- Room dimensions and circulation: select pieces that leave believable door, hallway, and window clearance.
- Natural light and color temperature: use fabrics and finishes that sit naturally in the room's light.
- Listing positioning: match the level of styling to the property and the way the agent is presenting it, without making the room feel like a showroom.
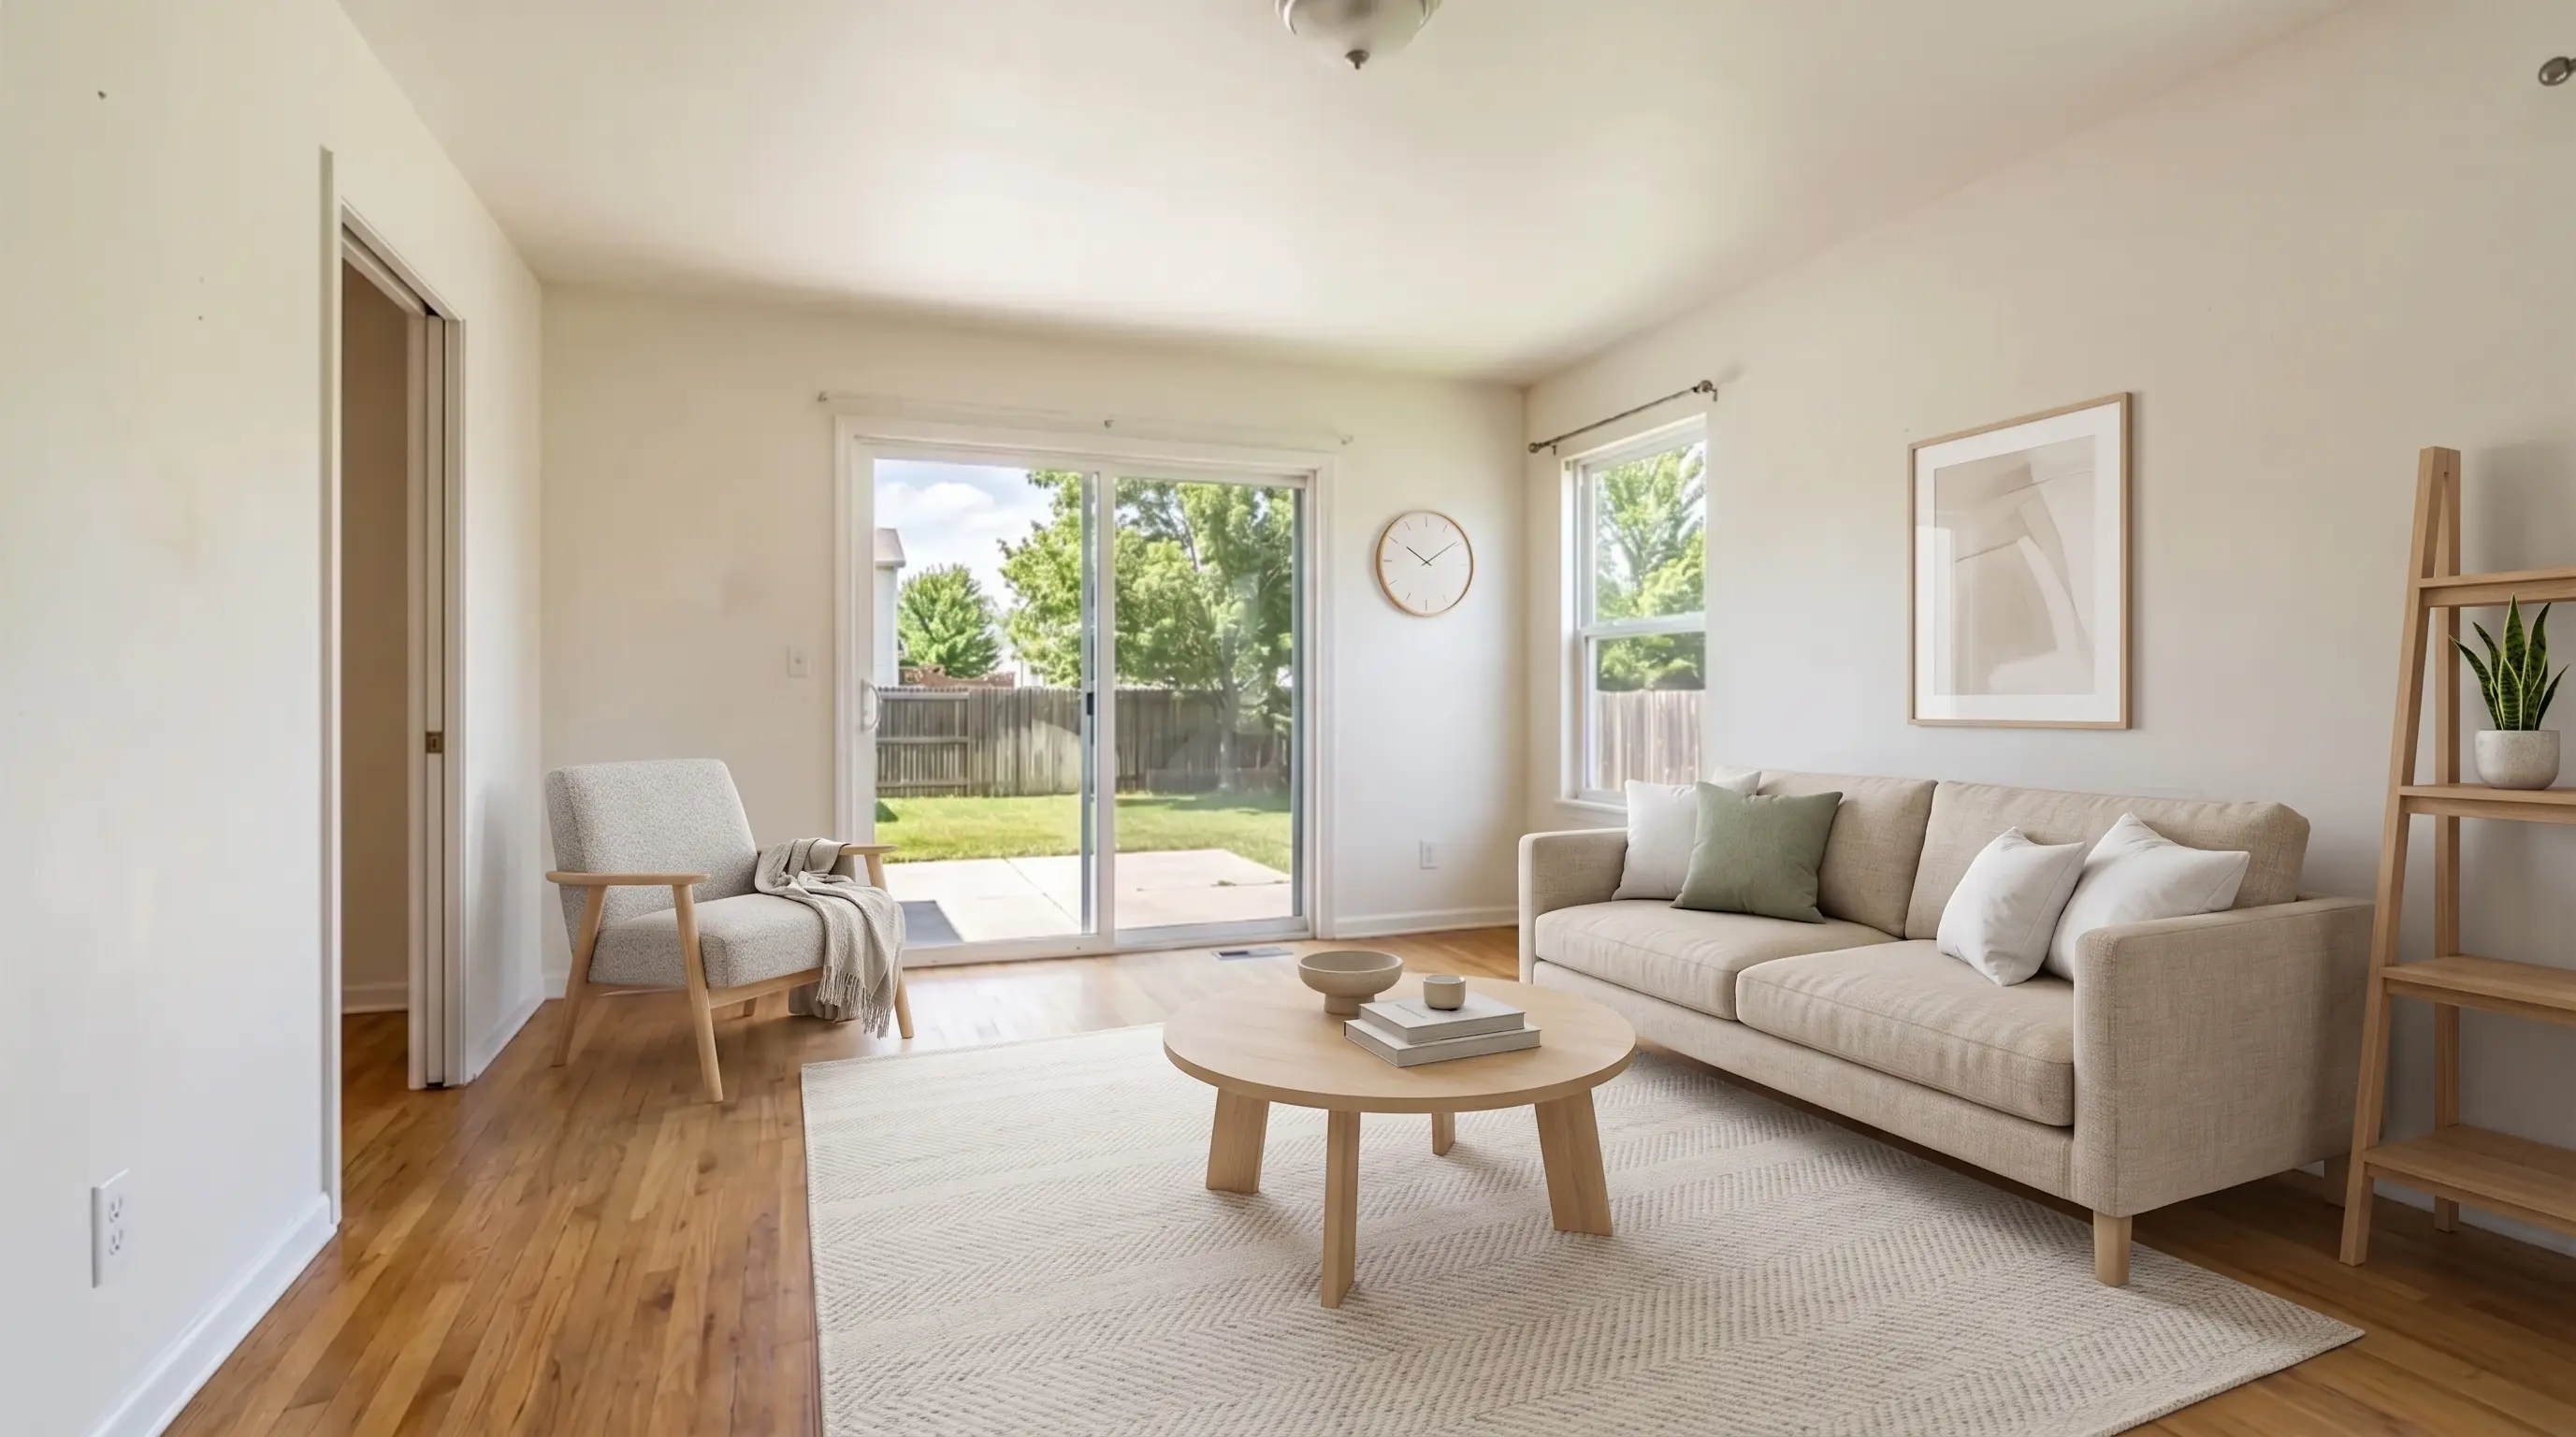
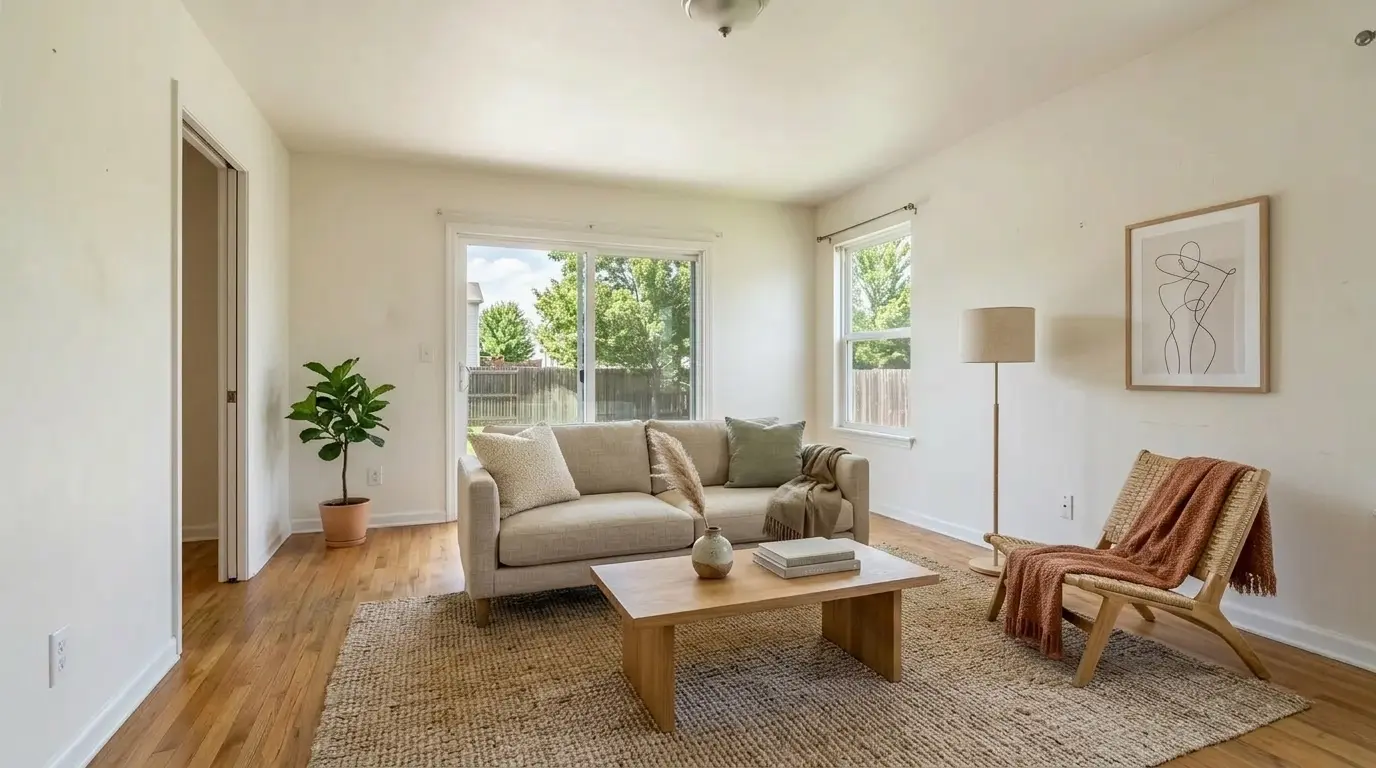
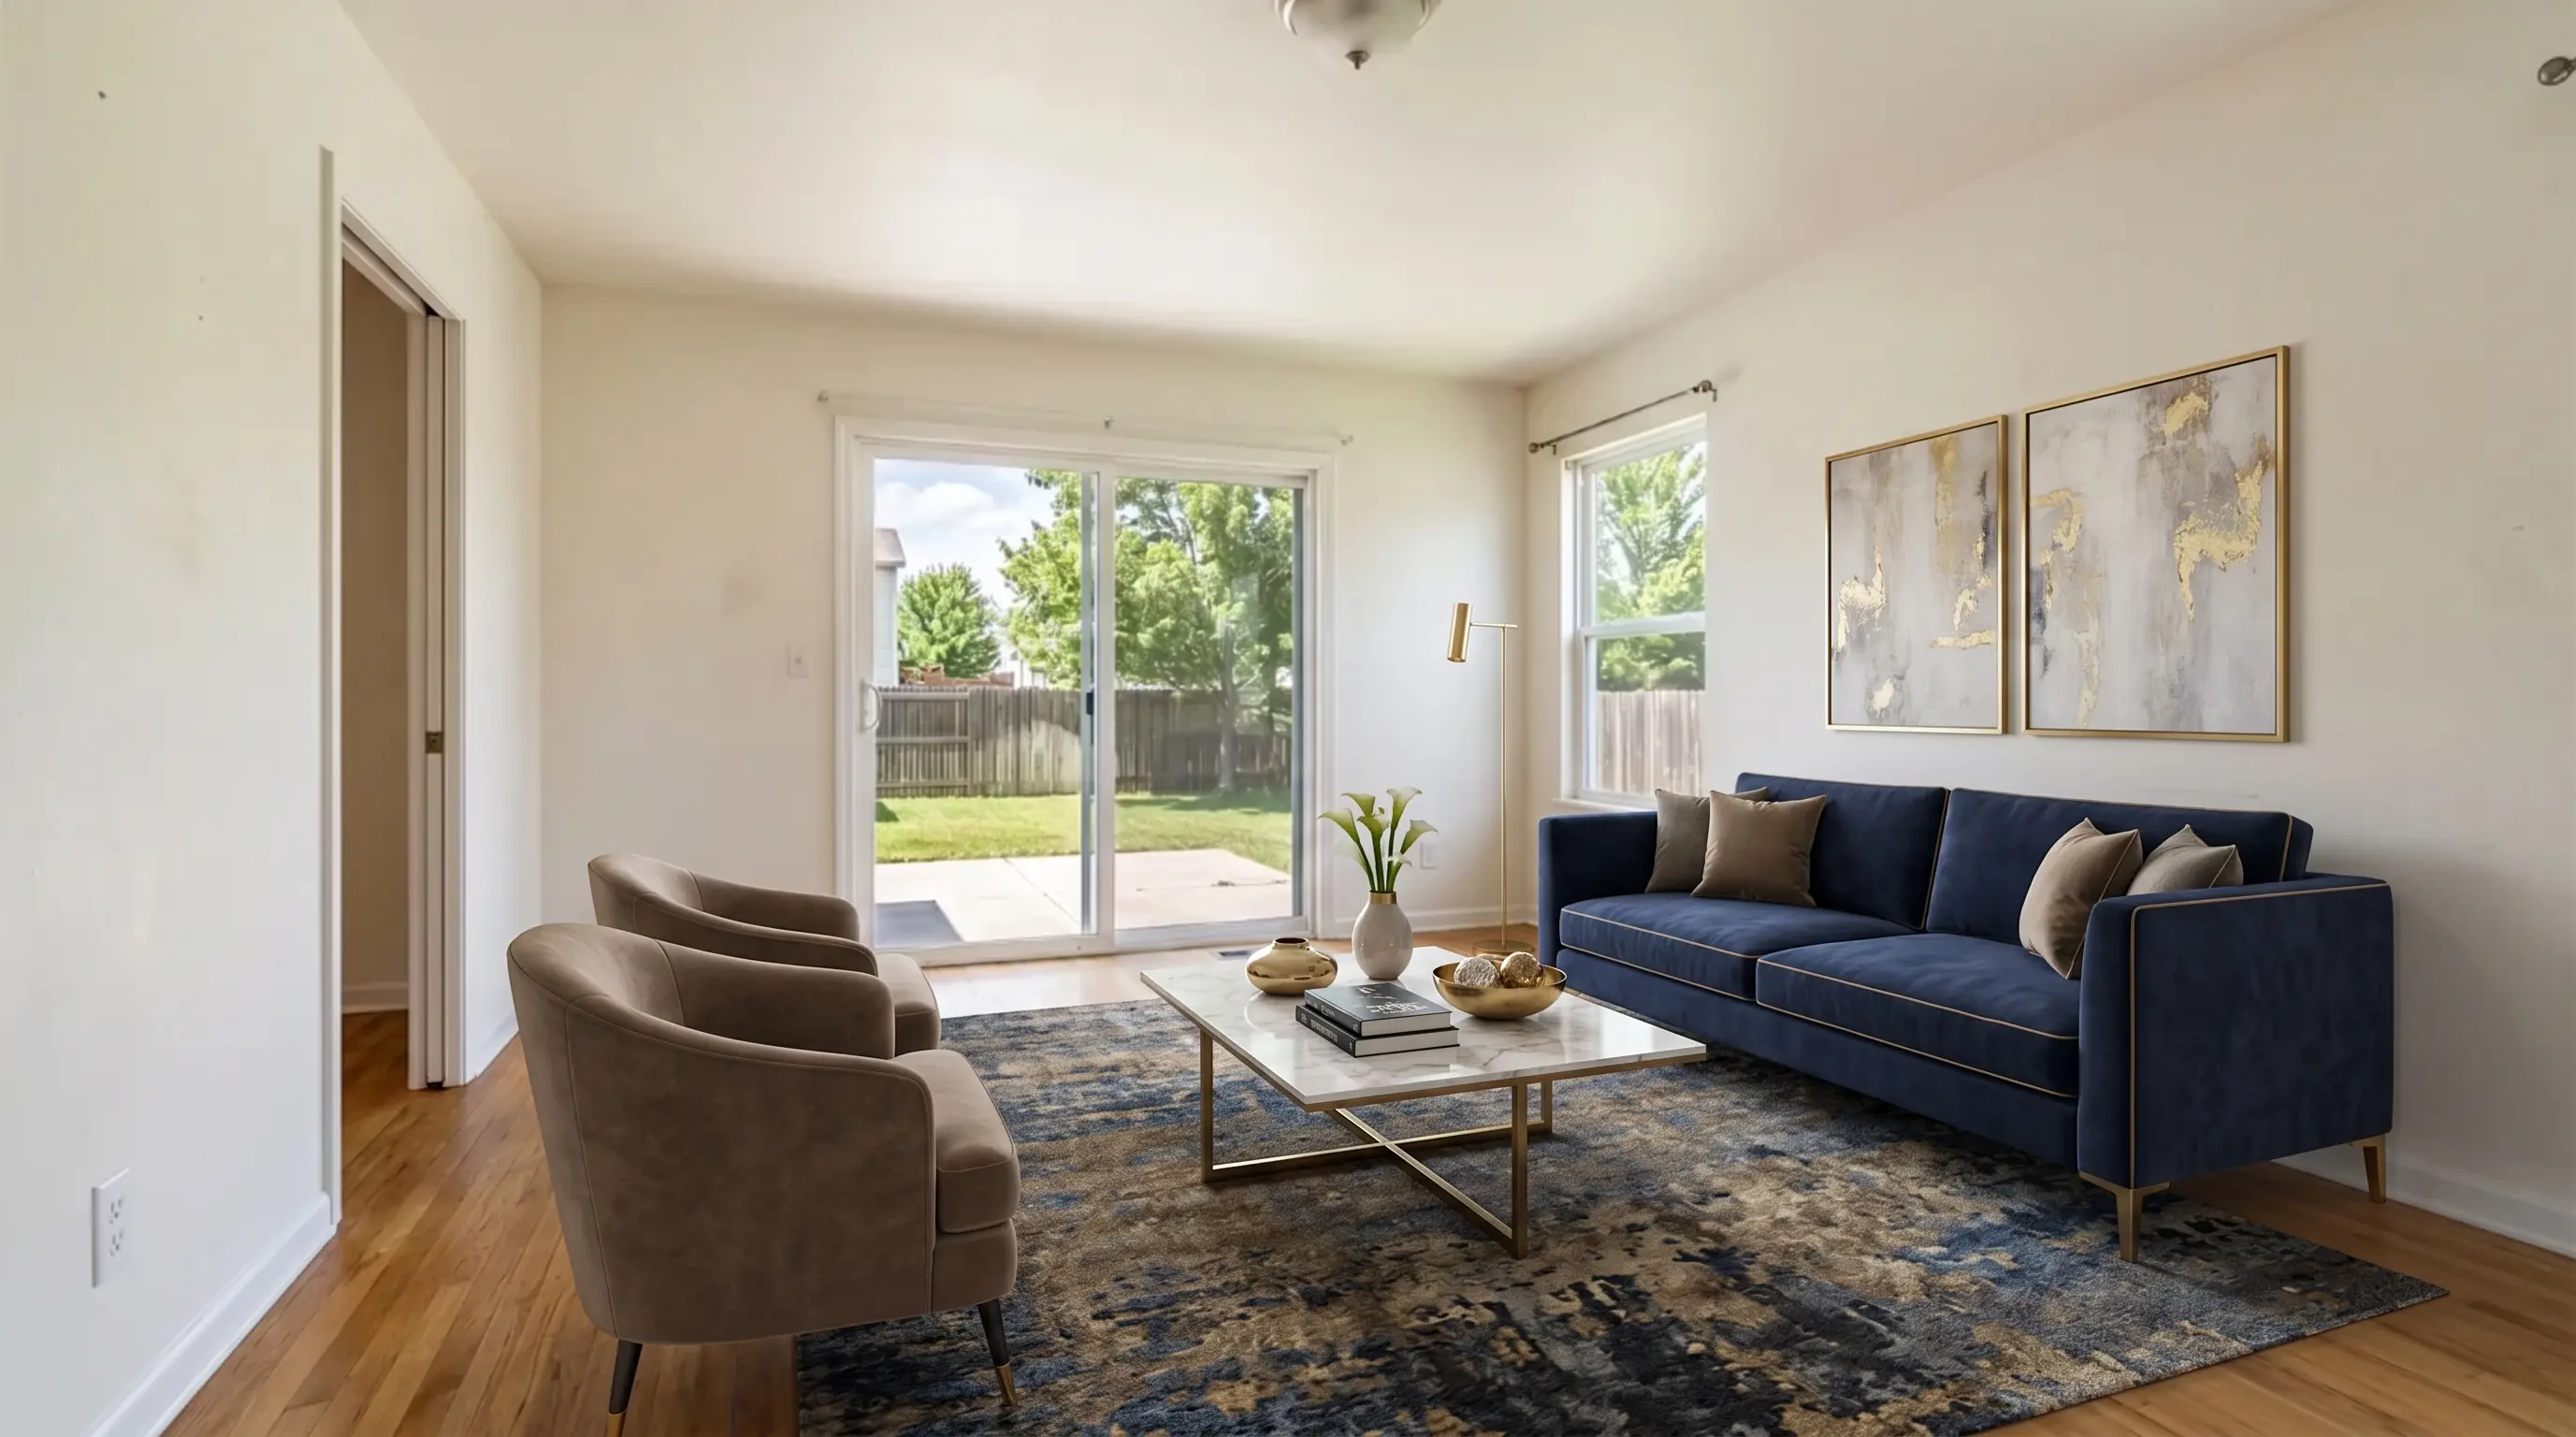
The six existing product renders below are style explorations of the same room, not evidence that any style converts better for a particular age group. Use them to choose a direction, then apply the realism check above.
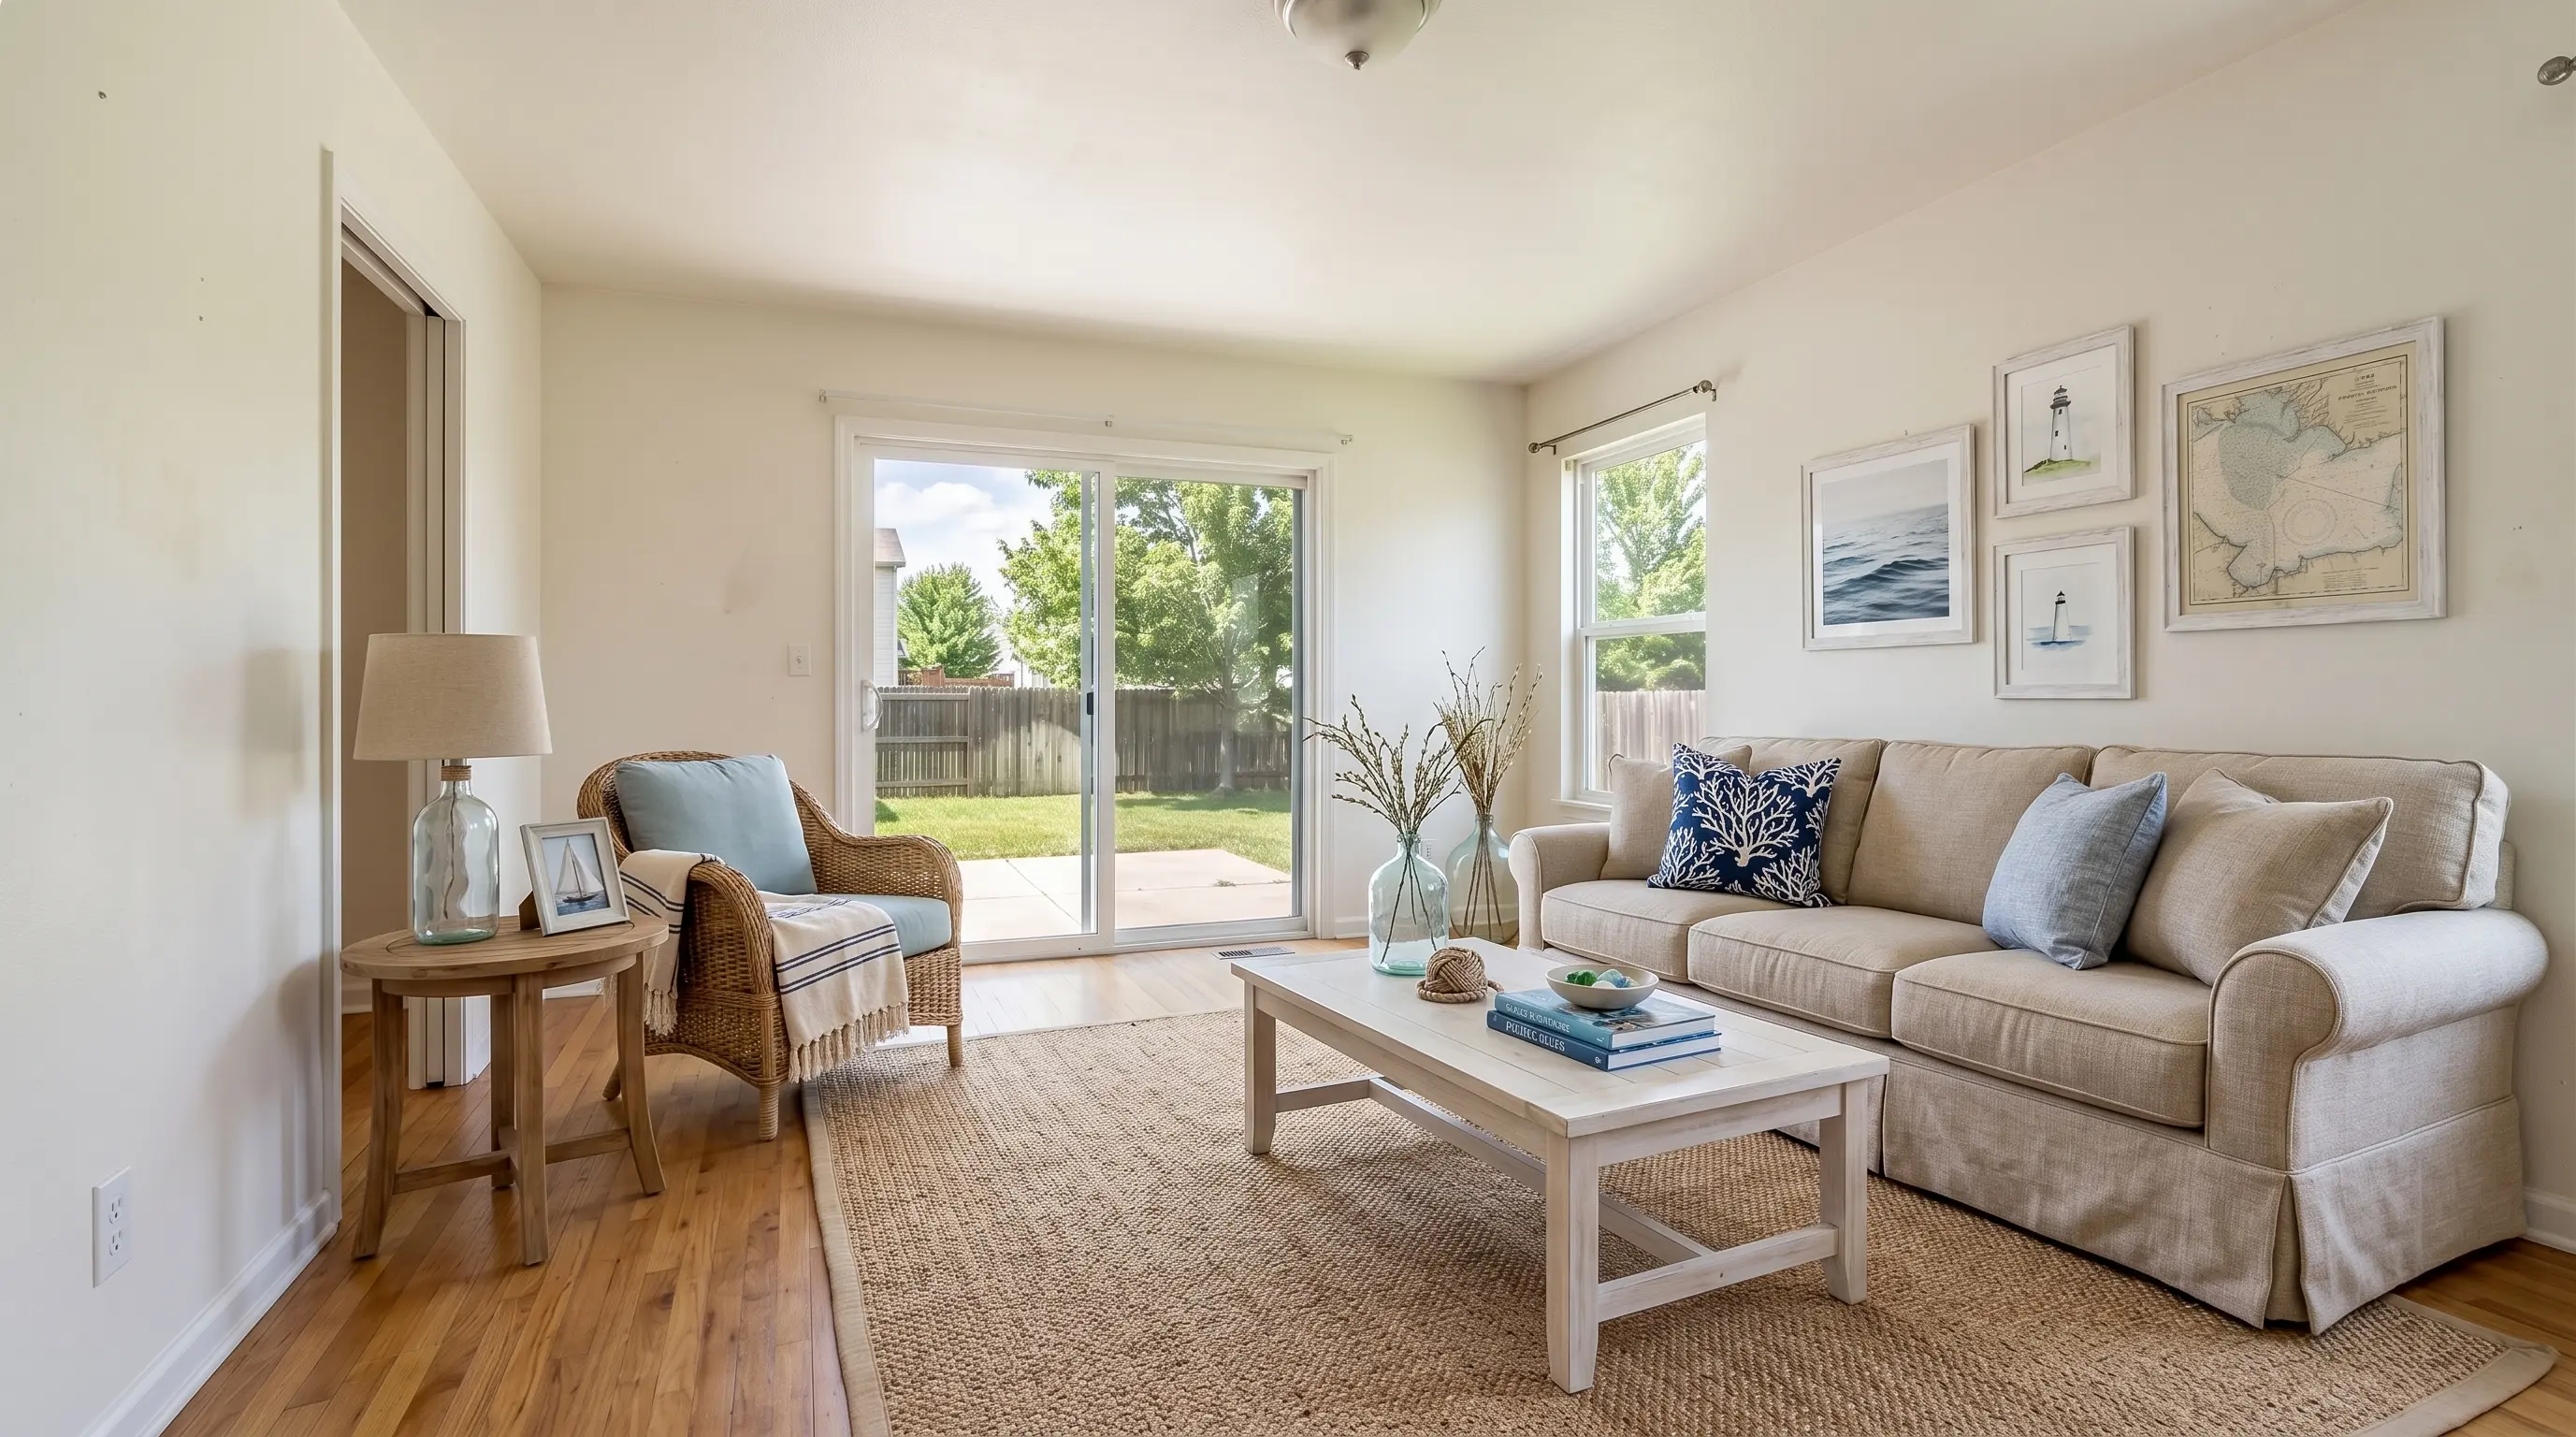
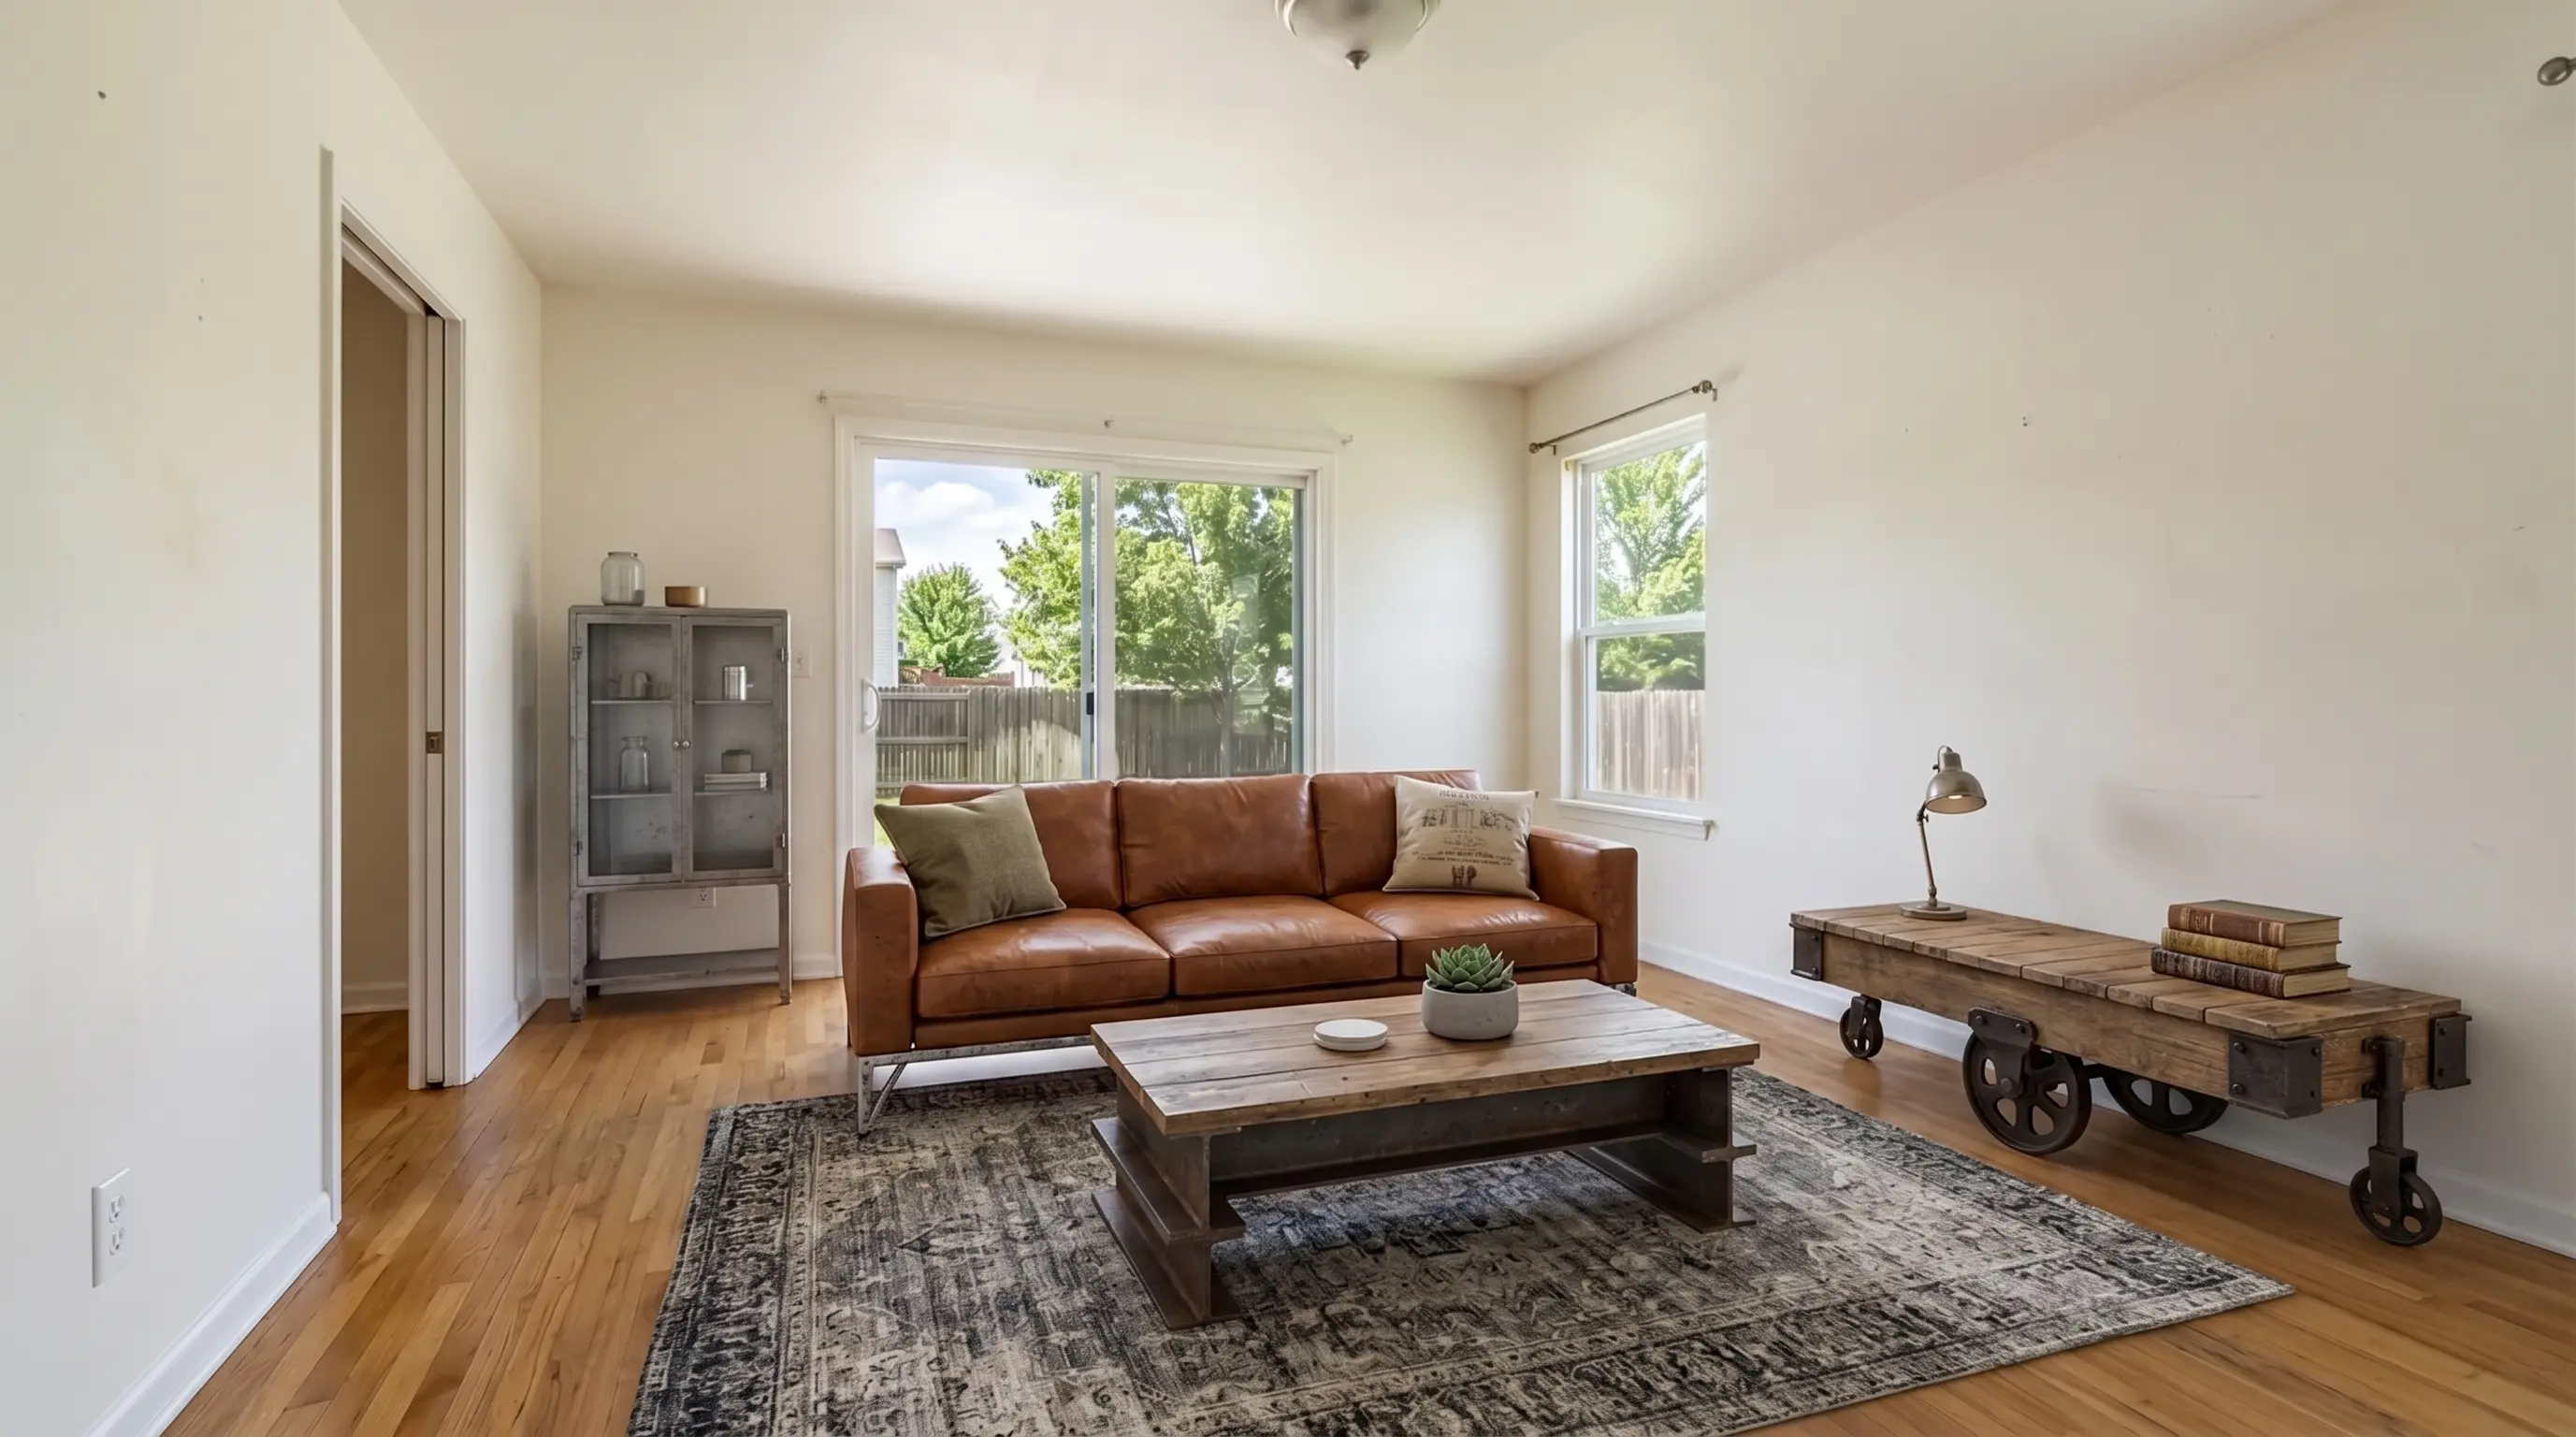
Empty rooms, occupied rooms, and multi-photo listings
The right workflow depends on the source photo, not just on the desired style.
| Source photo | Practical workflow | Publication check |
|---|---|---|
| Empty room | Stage directly; choose the layout that best explains the room's use. | Check scale, perspective, shadows, and the original structure. |
| Lightly furnished, tidy room | Restage only if the existing furniture makes the room hard to read. Keep the original if it already photographs well. | Make sure the new layout has not changed visible finishes or fixtures. |
| Occupied or cluttered room | Remove movable furniture first, review the clean image, then stage it. For busy rooms, use Furniture Removal as a separate checkpoint before restaging. | Do not remove defects, damage, or permanent features. Keep the original. |
| Two or more angles of one room | Approve a furniture plan from one angle, then use it as the reference for the rest. | Compare each angle side by side before upload; major pieces should not change or teleport. |
For an occupied room, furniture removal → review → restaging is safer than asking one pass to solve every problem at once. It creates a clear place to catch accidental changes to the room before new furniture is introduced.
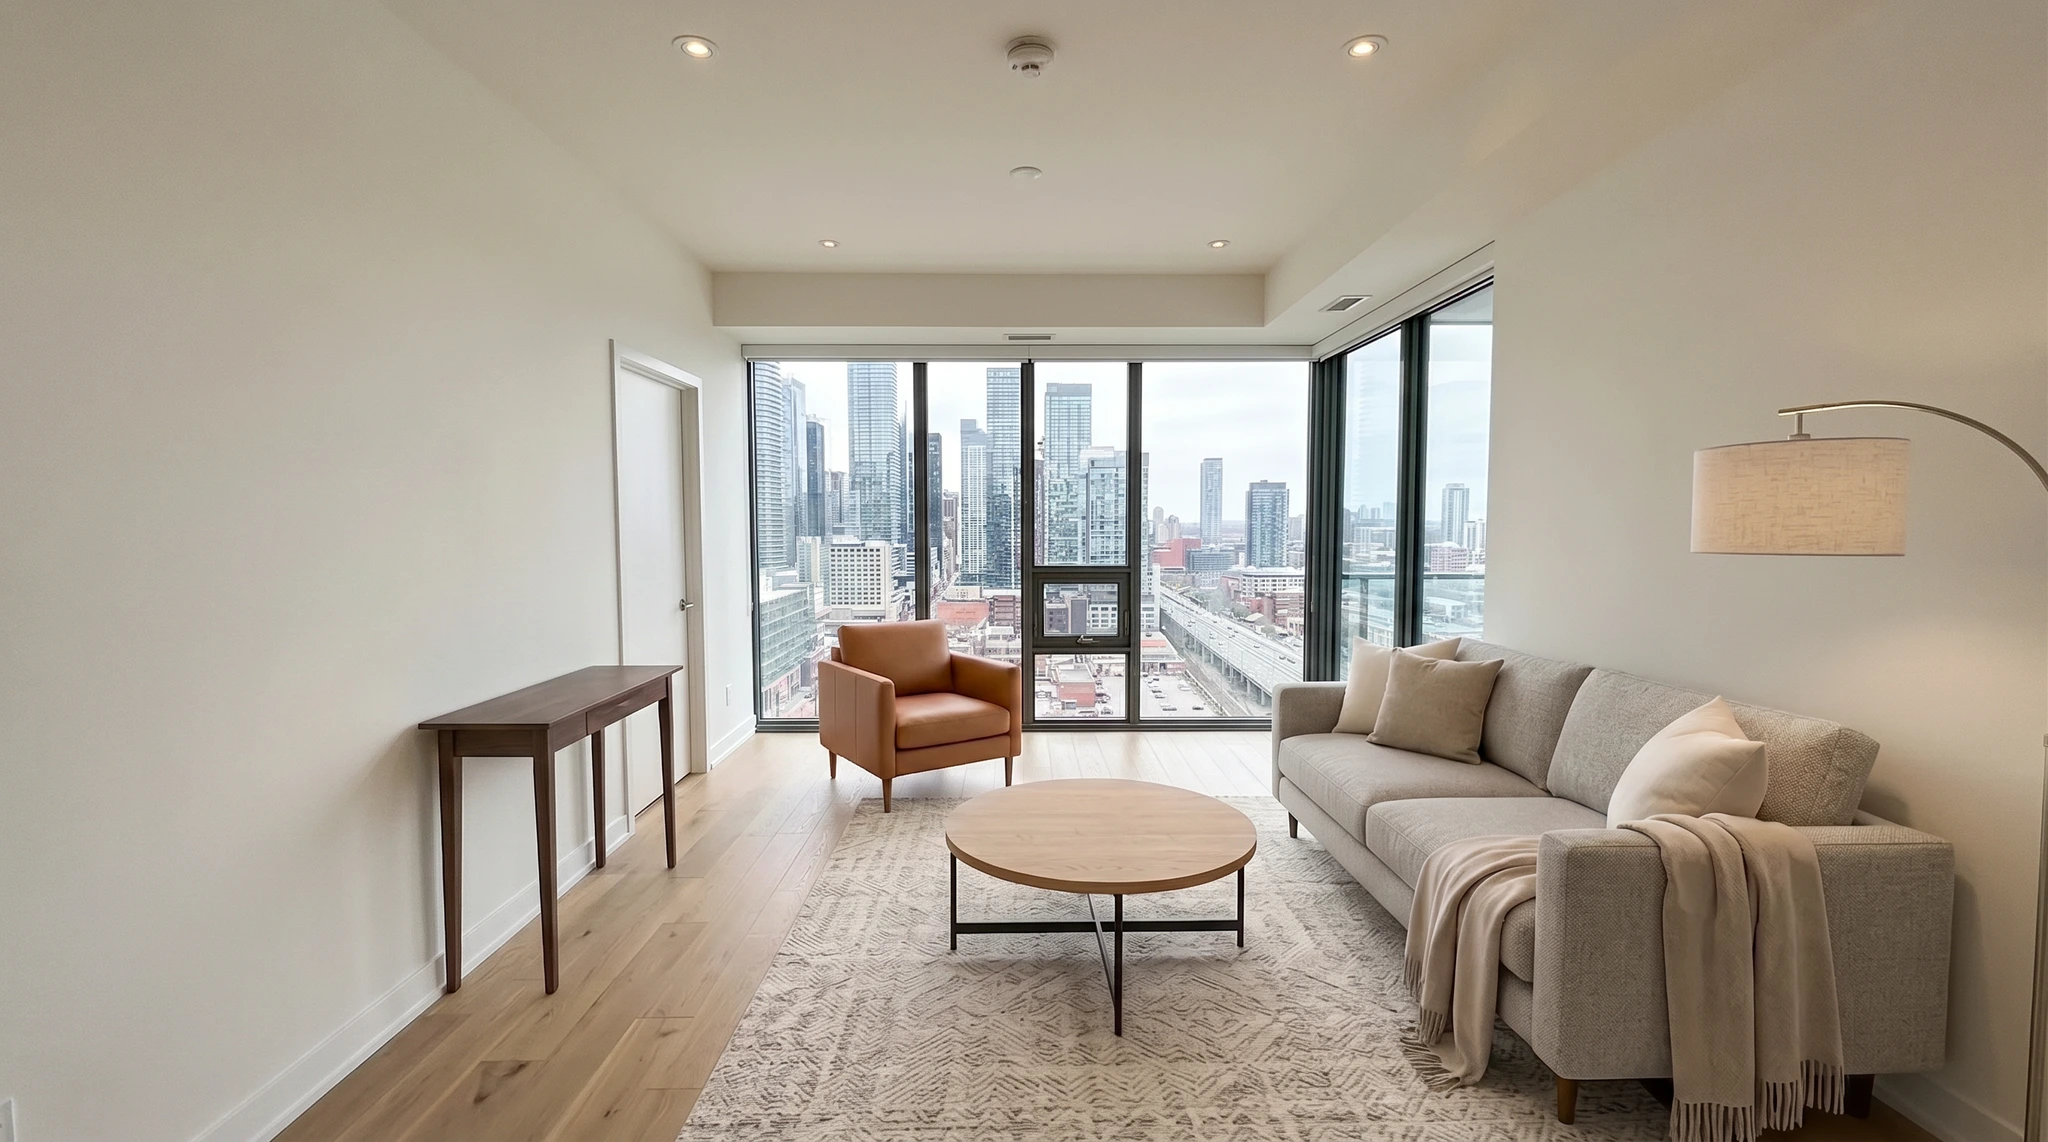
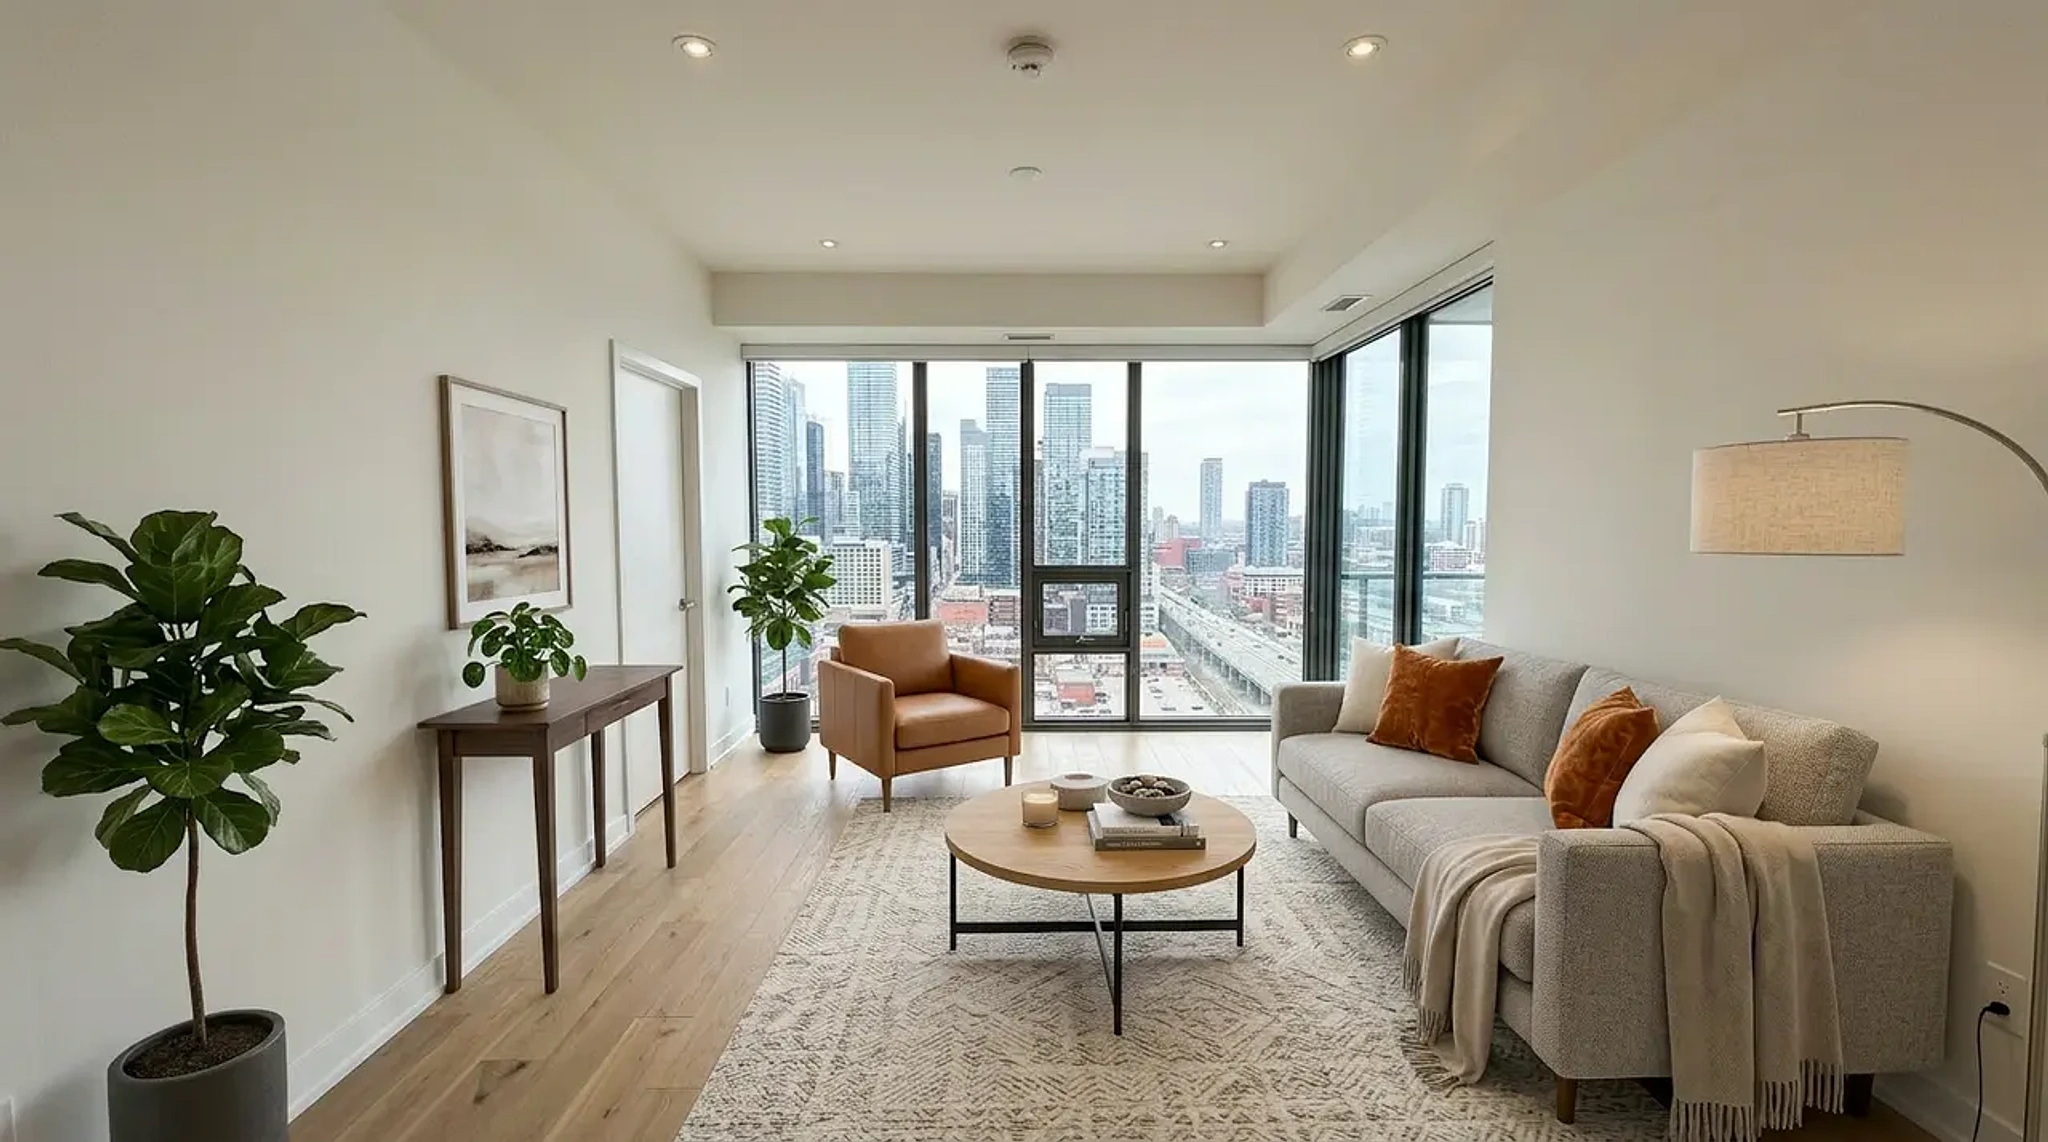
VirtualStaging.tools product example · Existing movable furniture removed before restaging.
A short, repeatable workflow
- Keep the original listing photo. Shoot level, wide, and in the best available natural light.
- Stage one lead angle. Choose a restrained layout that fits the room and its finishes.
- Run the realism check. Reject results with wrong scale, perspective, light, shadows, floor contact, or structural changes.
- Match the other angles. Reuse the approved furniture plan and compare the finished set together.
- Prepare disclosure before publishing. Keep the original accessible and follow the rules for your MLS, brokerage, and market.
Try It on Your Own Listing Photo
Upload a room, choose a furniture direction, then review the result against the original before you publish.
Stage My Listing PhotoSee more virtual staging examplesCost snapshot: three ways to stage furniture
| Approach | Relative cost and speed | Human control |
|---|---|---|
| Self-serve AI virtual furniture staging | Lowest cost and fastest turnaround for most standard rooms. | You choose the source photo, style, and approve or regenerate the output. |
| Human-edited virtual staging | Higher cost and slower delivery. | An editor can apply judgment to an unusually complex or high-priority image. |
| Physical staging | Highest cost and the most coordination. | Real furniture is present for photography and showings. |
For current price ranges and detailed trade-offs, use our virtual staging cost guide. For tool-by-tool evaluation, see best virtual staging software.
License, watermark, and MLS disclosure are separate checks
For VirtualStaging.tools, the free tier includes three lifetime previews and a commercial photo license, but free exports carry a watermark that must remain intact. Paid plans provide watermark-free exports. Those terms are distinct from whether a particular MLS will accept a file: commercial permission concerns the license; watermark status concerns the output; MLS acceptance depends on the local MLS, brokerage policy, required disclosure, and the image's accuracy. A watermark alone is not a universal legal test for MLS use.
Disclosure and MLS use
Virtual furniture staging should be transparent, but the exact rule comes from the market where the listing is published. Check your MLS and brokerage policy before upload; many have more specific requirements than general industry guidance.
- California listings: Business and Professions Code §10140.8 requires a reasonably conspicuous altered-image disclosure and access to the clearly identified original unaltered image. It expressly covers adding or removing furniture.
- REALTOR® advertising: NAR Article 12 and Standard of Practice 12-10 require a true picture and prohibit misleading images. They do not replace local MLS rules.
- Practical default: label the staged image clearly, retain the original, and use the local MLS's requested field and pairing/order workflow. If the rule is unclear, ask the MLS or brokerage before publishing.
NAR's 2025 Profile of Home Staging reports that 83% of buyers' agents said staging made it easier for buyers to visualize a property as a future home. That is survey evidence about staging generally—not a promise about virtual furniture staging, a specific style, or an individual listing outcome.
Frequently Asked Questions
What is virtual furniture staging?
Virtual furniture staging adds digital movable furniture and décor to a real listing photo so buyers can understand a room's possible use and scale. It should leave the room's walls, windows, flooring, fixtures, layout, and visible condition unchanged. For the broader definition, see What Is Virtual Staging?.
Why does virtual staging furniture look fake?
The usual causes are furniture at the wrong scale, perspective that does not follow the room, missing contact shadows, lighting that conflicts with the photo, too much furniture, or inconsistent major pieces across two angles of the same room. Compare the generated image with the original before publishing and regenerate when one of those checks fails.
Can I virtually stage a room that already has furniture?
Yes. For an occupied room, remove movable furniture first, inspect the cleared image, then restage it. That workflow is useful when dated or crowded furniture obscures the room, but it should not remove defects or permanent features. Use Furniture Removal when you need a separate review step before restaging.
How much does virtual furniture staging cost?
Costs vary by tool, output terms, and whether a human editor is involved. Compare current AI, human-edited, and physical-staging trade-offs in our virtual staging cost guide, rather than relying on a single per-photo figure.
Can a watermarked virtual staging image be used on the MLS?
A watermark, a commercial license, and MLS acceptance are separate questions. Check the tool's license, your brokerage policy, and your MLS's current image and disclosure rules. VirtualStaging.tools licenses free images for commercial use while its watermark remains intact; paid exports are watermark-free. Neither fact replaces the required disclosure or local MLS review.
Do I have to disclose virtually staged furniture?
Follow your MLS and brokerage rules. California law requires a conspicuous disclosure and access to the original unaltered image for digitally altered real-estate advertising, including furniture additions or removals. NAR's true-picture requirement also prohibits misleading images, but it does not replace local MLS policy.
More from the blog
Related reading

Virtual Staging Service: When to Hire vs Use AI
How virtual staging services work, what they cost, and when hiring a designer still beats doing it yourself with AI — an agent's 2026 comparison.
Does Virtual Staging Help Sell a House? The Real Data
Does virtual staging help sell a house? NAR's 2025 data shows staging cuts days on market and lifts offers. Here's what's real and what's marketing hype.

How to Write Instructions AI Staging Will Follow
We tested five staging instructions on real listing photos. The four that worked share one trait — and the one that failed shows the model's limit.