A custom instruction in an AI staging tool isn't a command — it's one input competing with your chosen design style and the room type's default look. Write it too vaguely, or in the wrong mode, and the model falls back to what it thinks a "complete" room should have. This guide covers the one trait that separates instructions that get followed from ones that get ignored, tested on real listing photos.
First, the mistake that isn't about wording at all
Before anything about how to phrase an instruction — check you're in the right tool for the job. These are two separate tools, not a toggle inside one, and confusing them is common:
- Virtual Staging adds furniture and decor to a room. Use it on empty or sparsely furnished rooms.
- Furniture Removal removes existing items from a room. Use it on occupied rooms you want cleared out.
Asking Virtual Staging to "declutter this room" doesn't remove the seller's furniture — it adds more furniture on top of what's already there, because that tool's whole job is addition. If you want an occupied room cleared, that's a removal job, and it needs Furniture Removal, not a hopeful instruction typed into the wrong tool. This single mix-up accounts for a disproportionate share of "the AI didn't do what I asked" complaints — it's not a wording problem, it's a tool-selection problem.
The one rule: name something the photo can show
We ran five instructions through the actual product — one per room type, first render each, no re-rolling until it looked right, no picking the best of several attempts.
| Room | Instruction | Result |
|---|---|---|
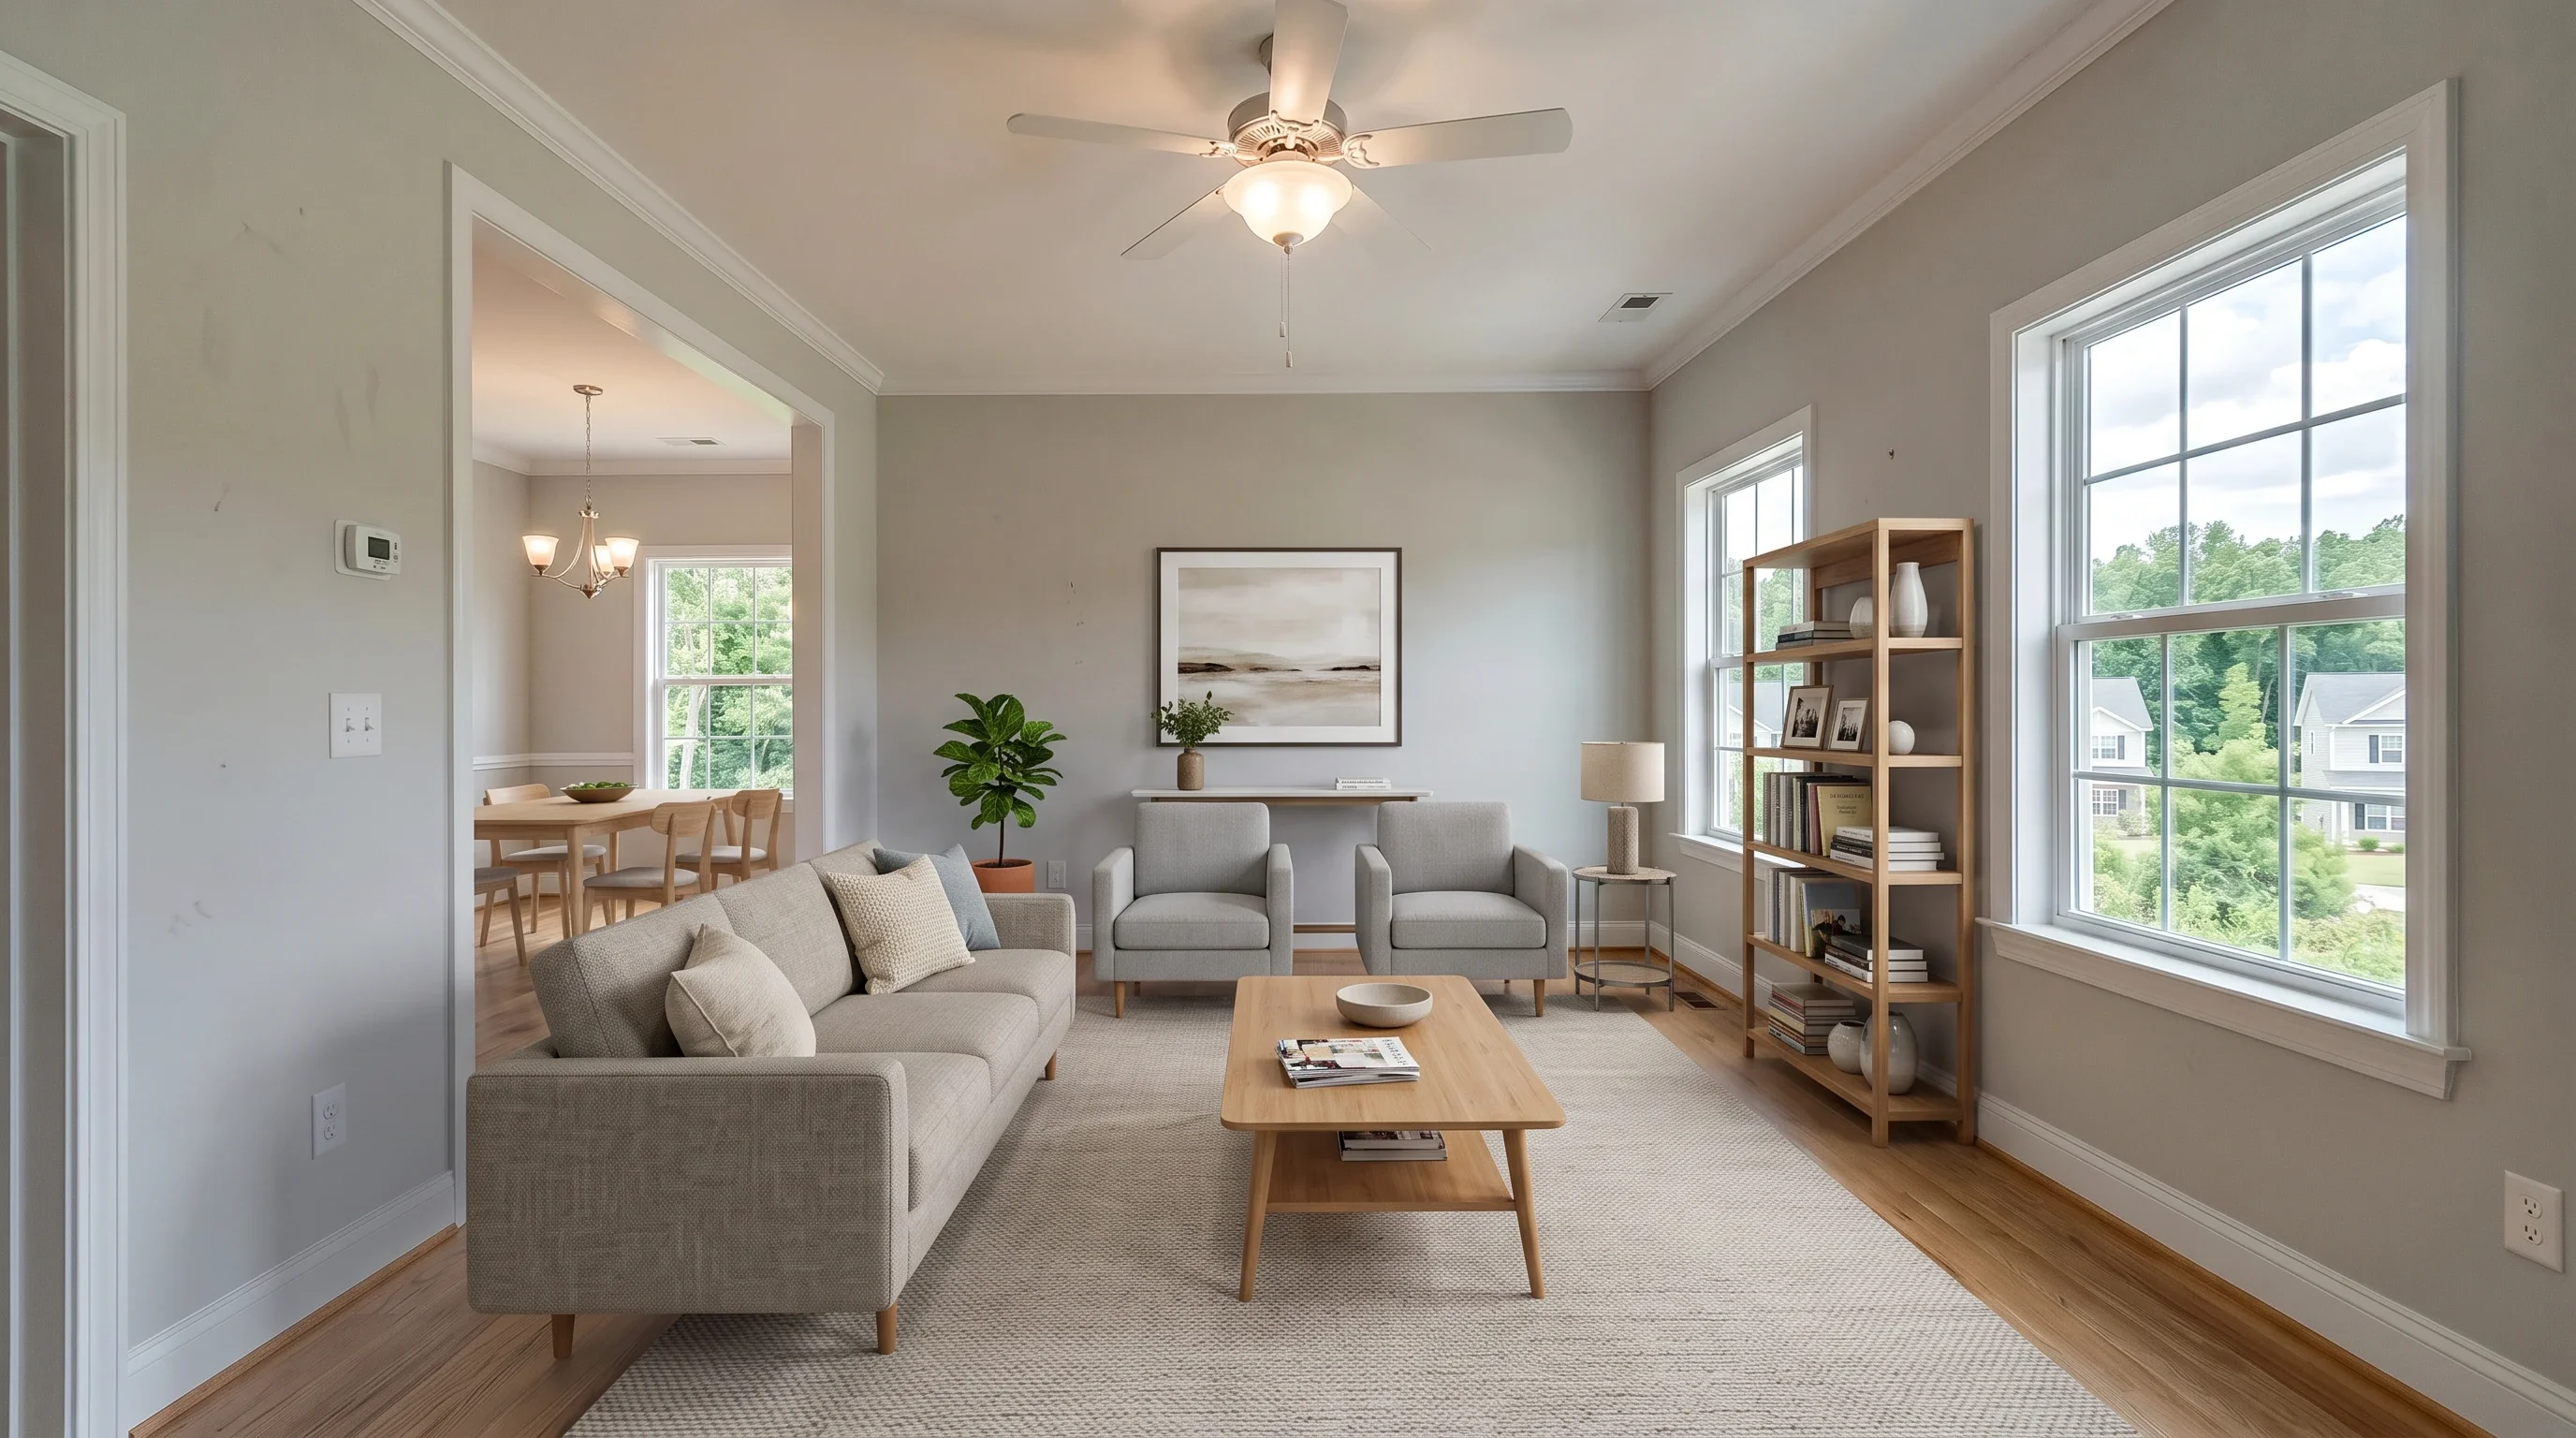
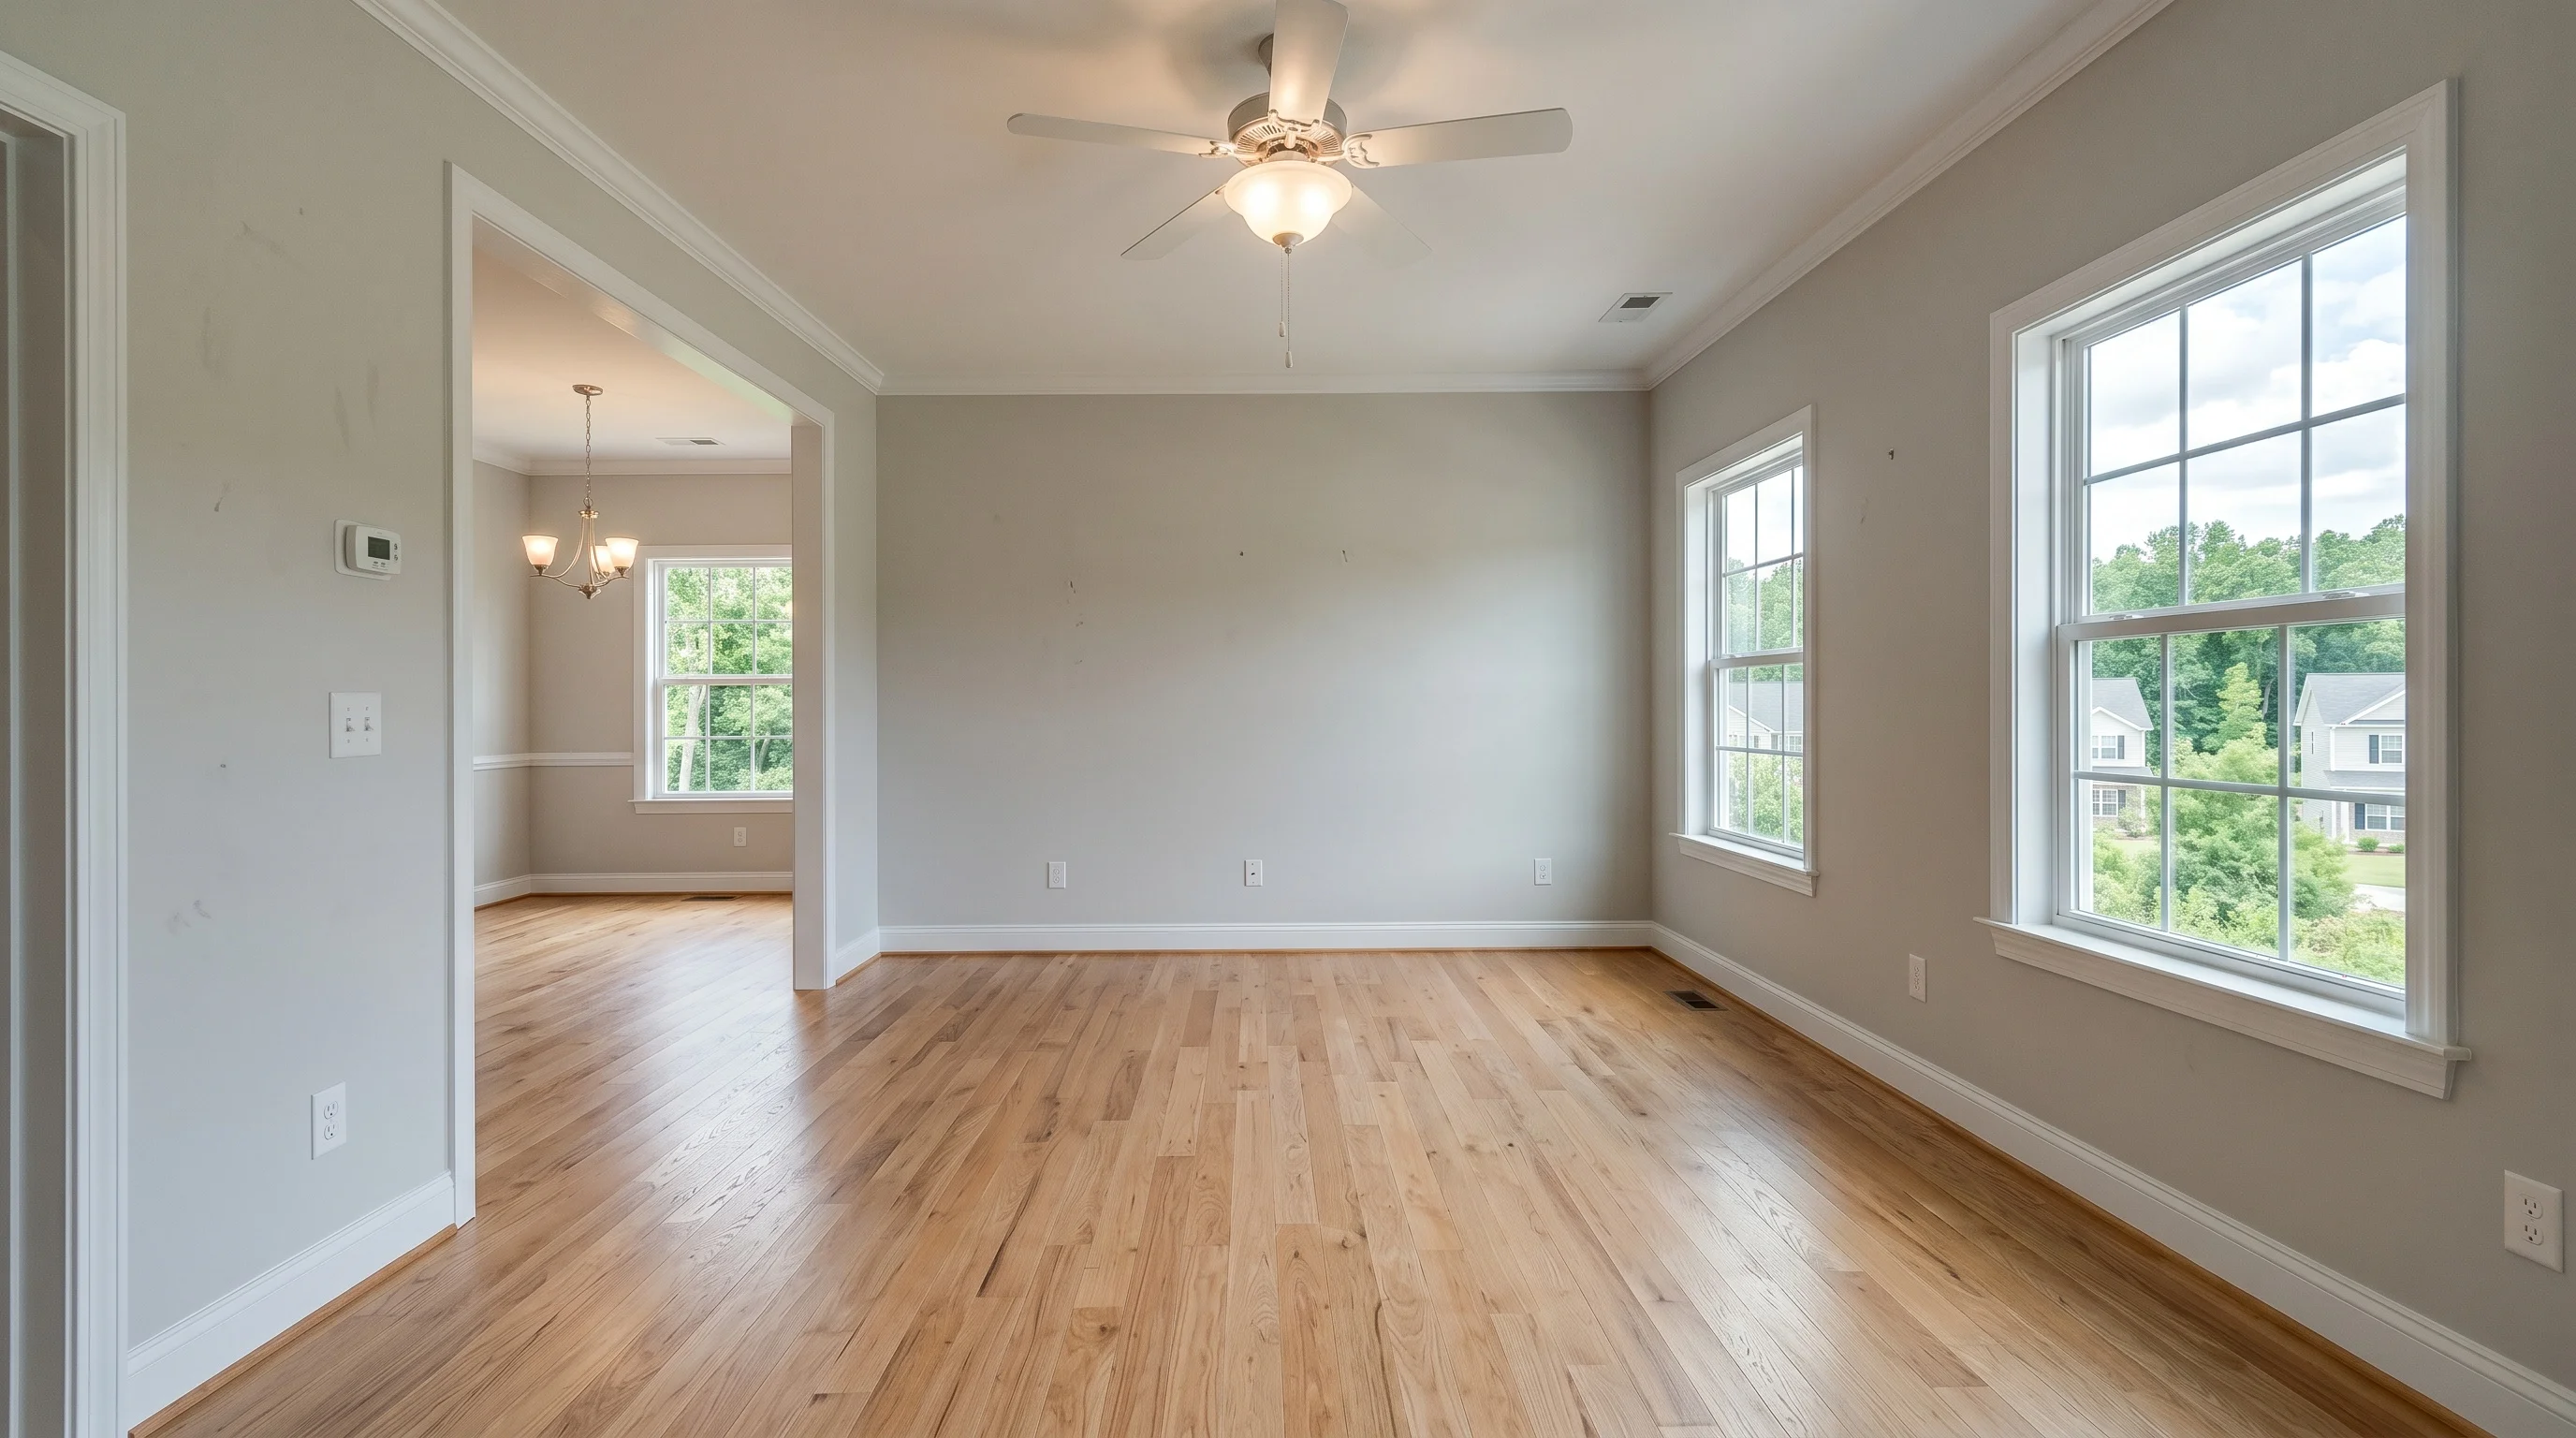
| Living Room | "Include a bookshelf against the right wall." | Followed — bookshelf placed exactly there |
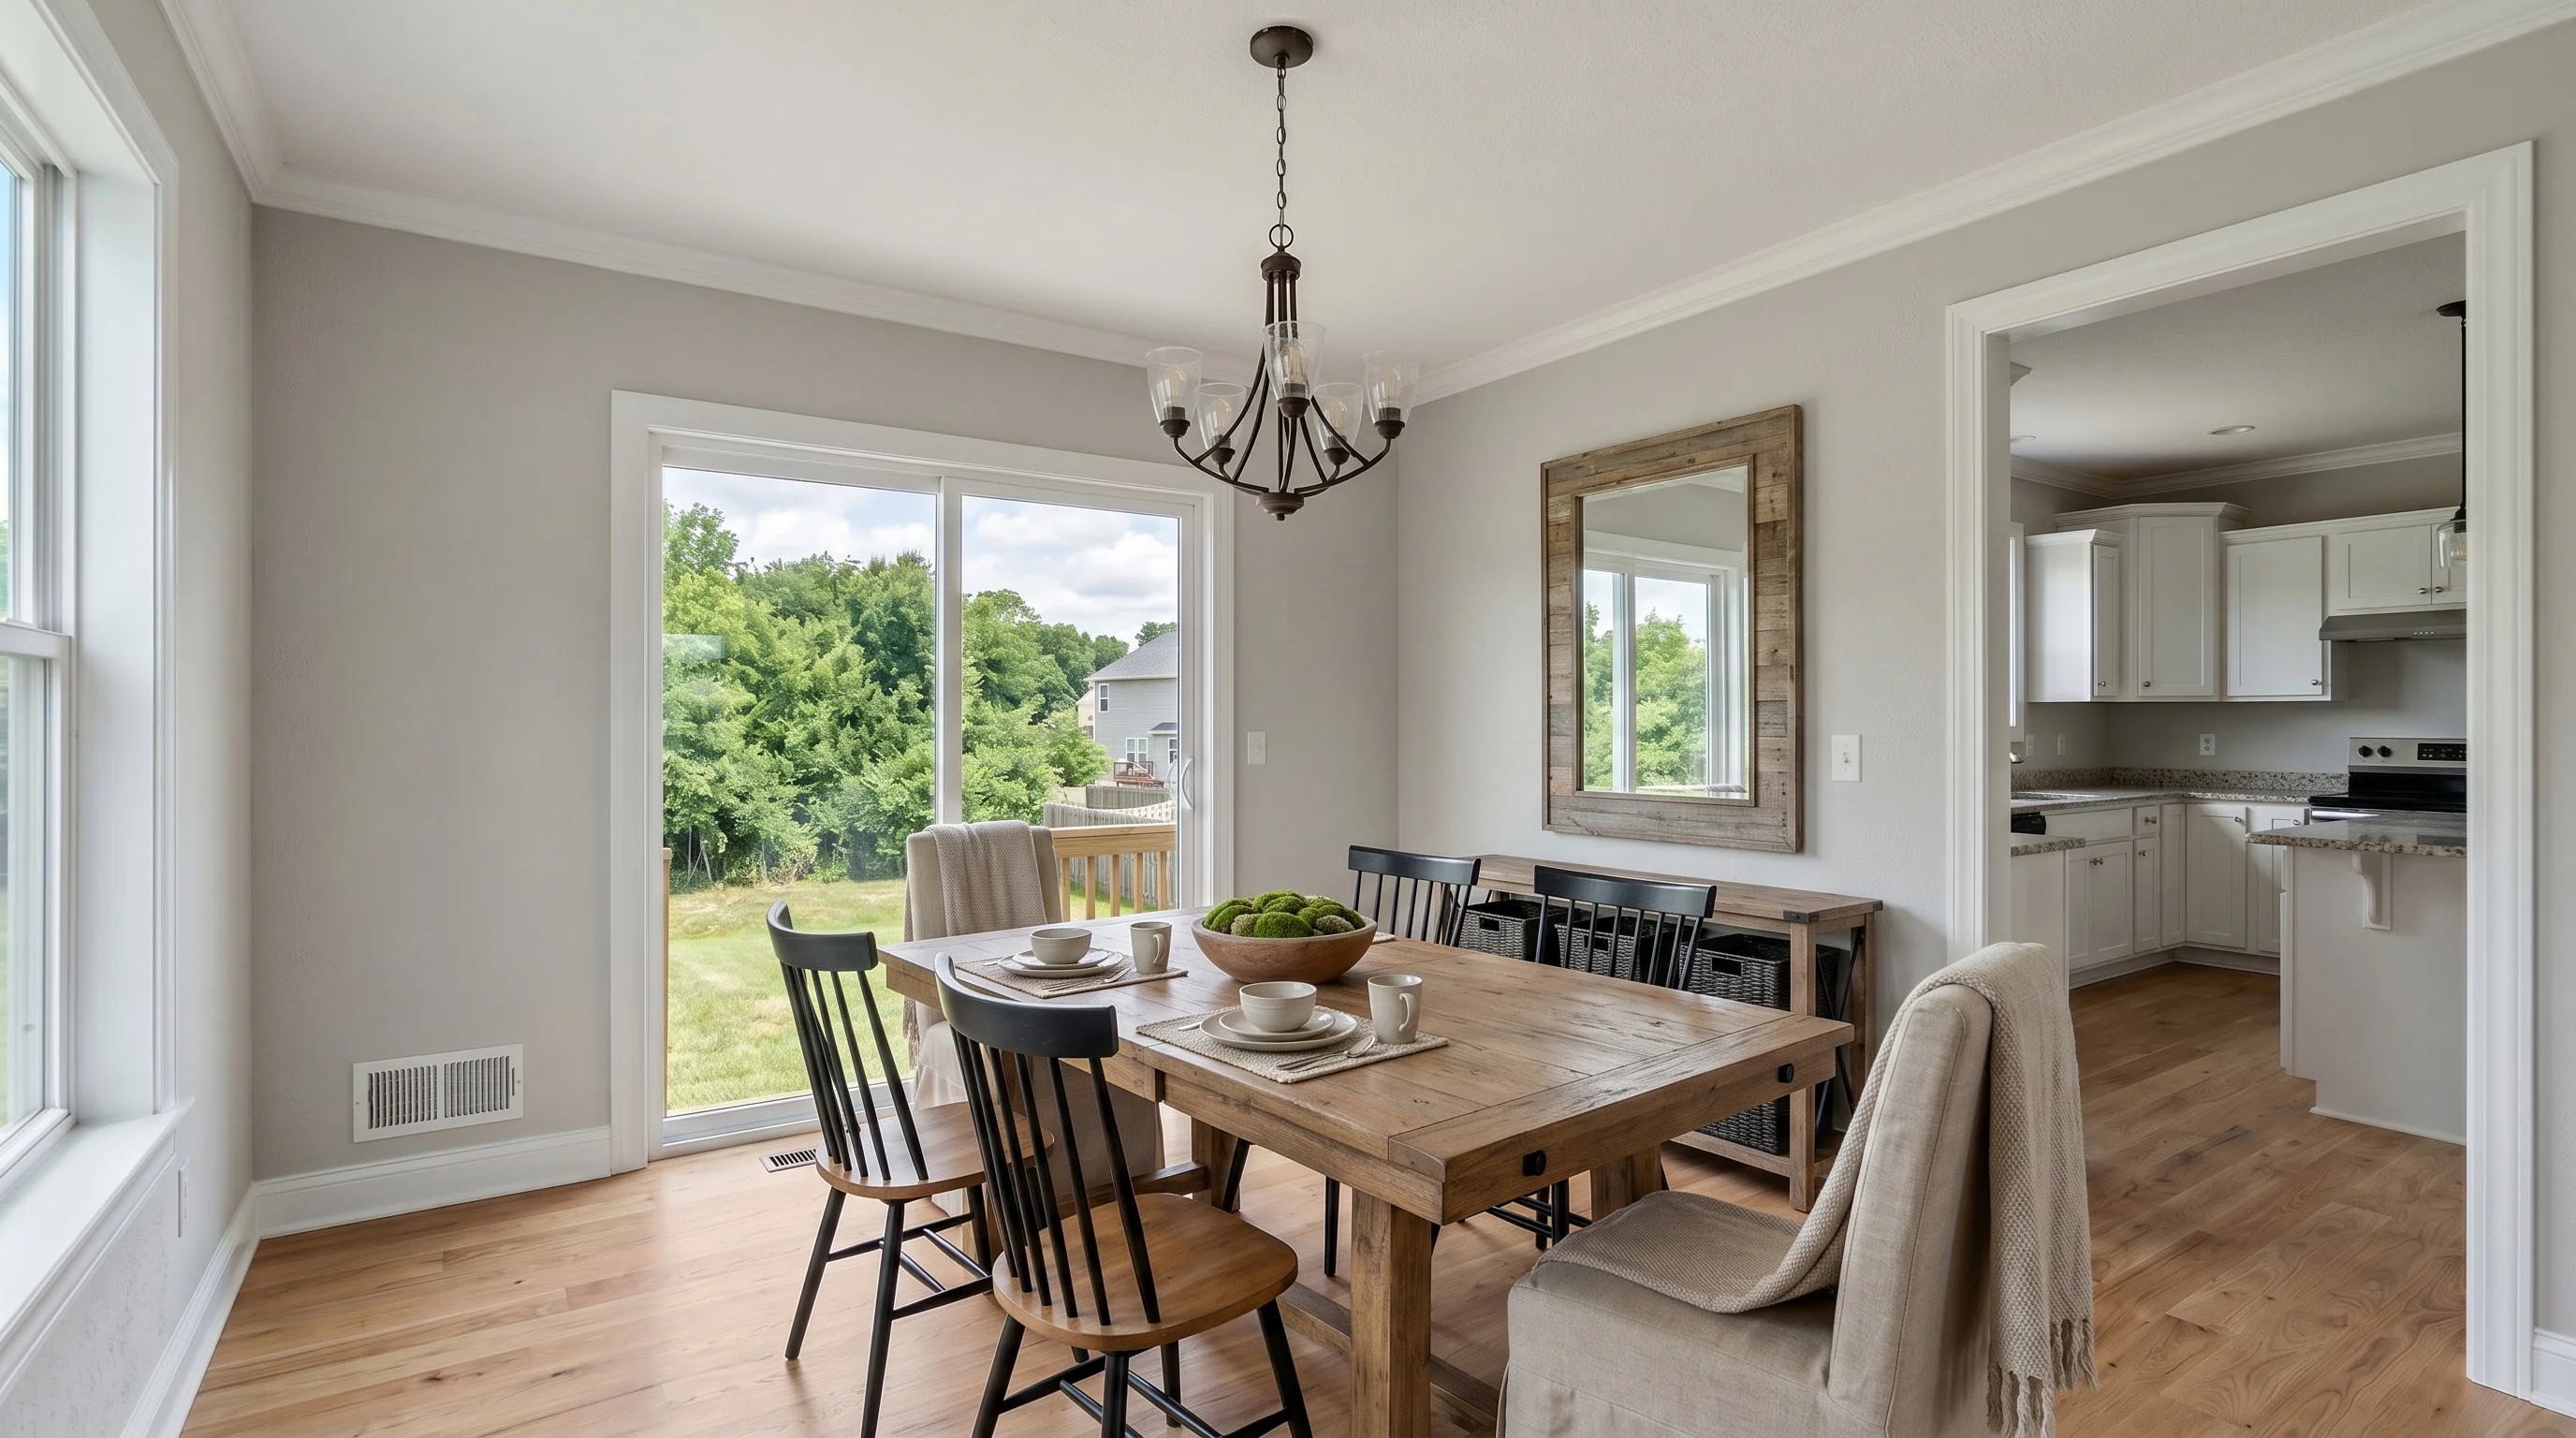
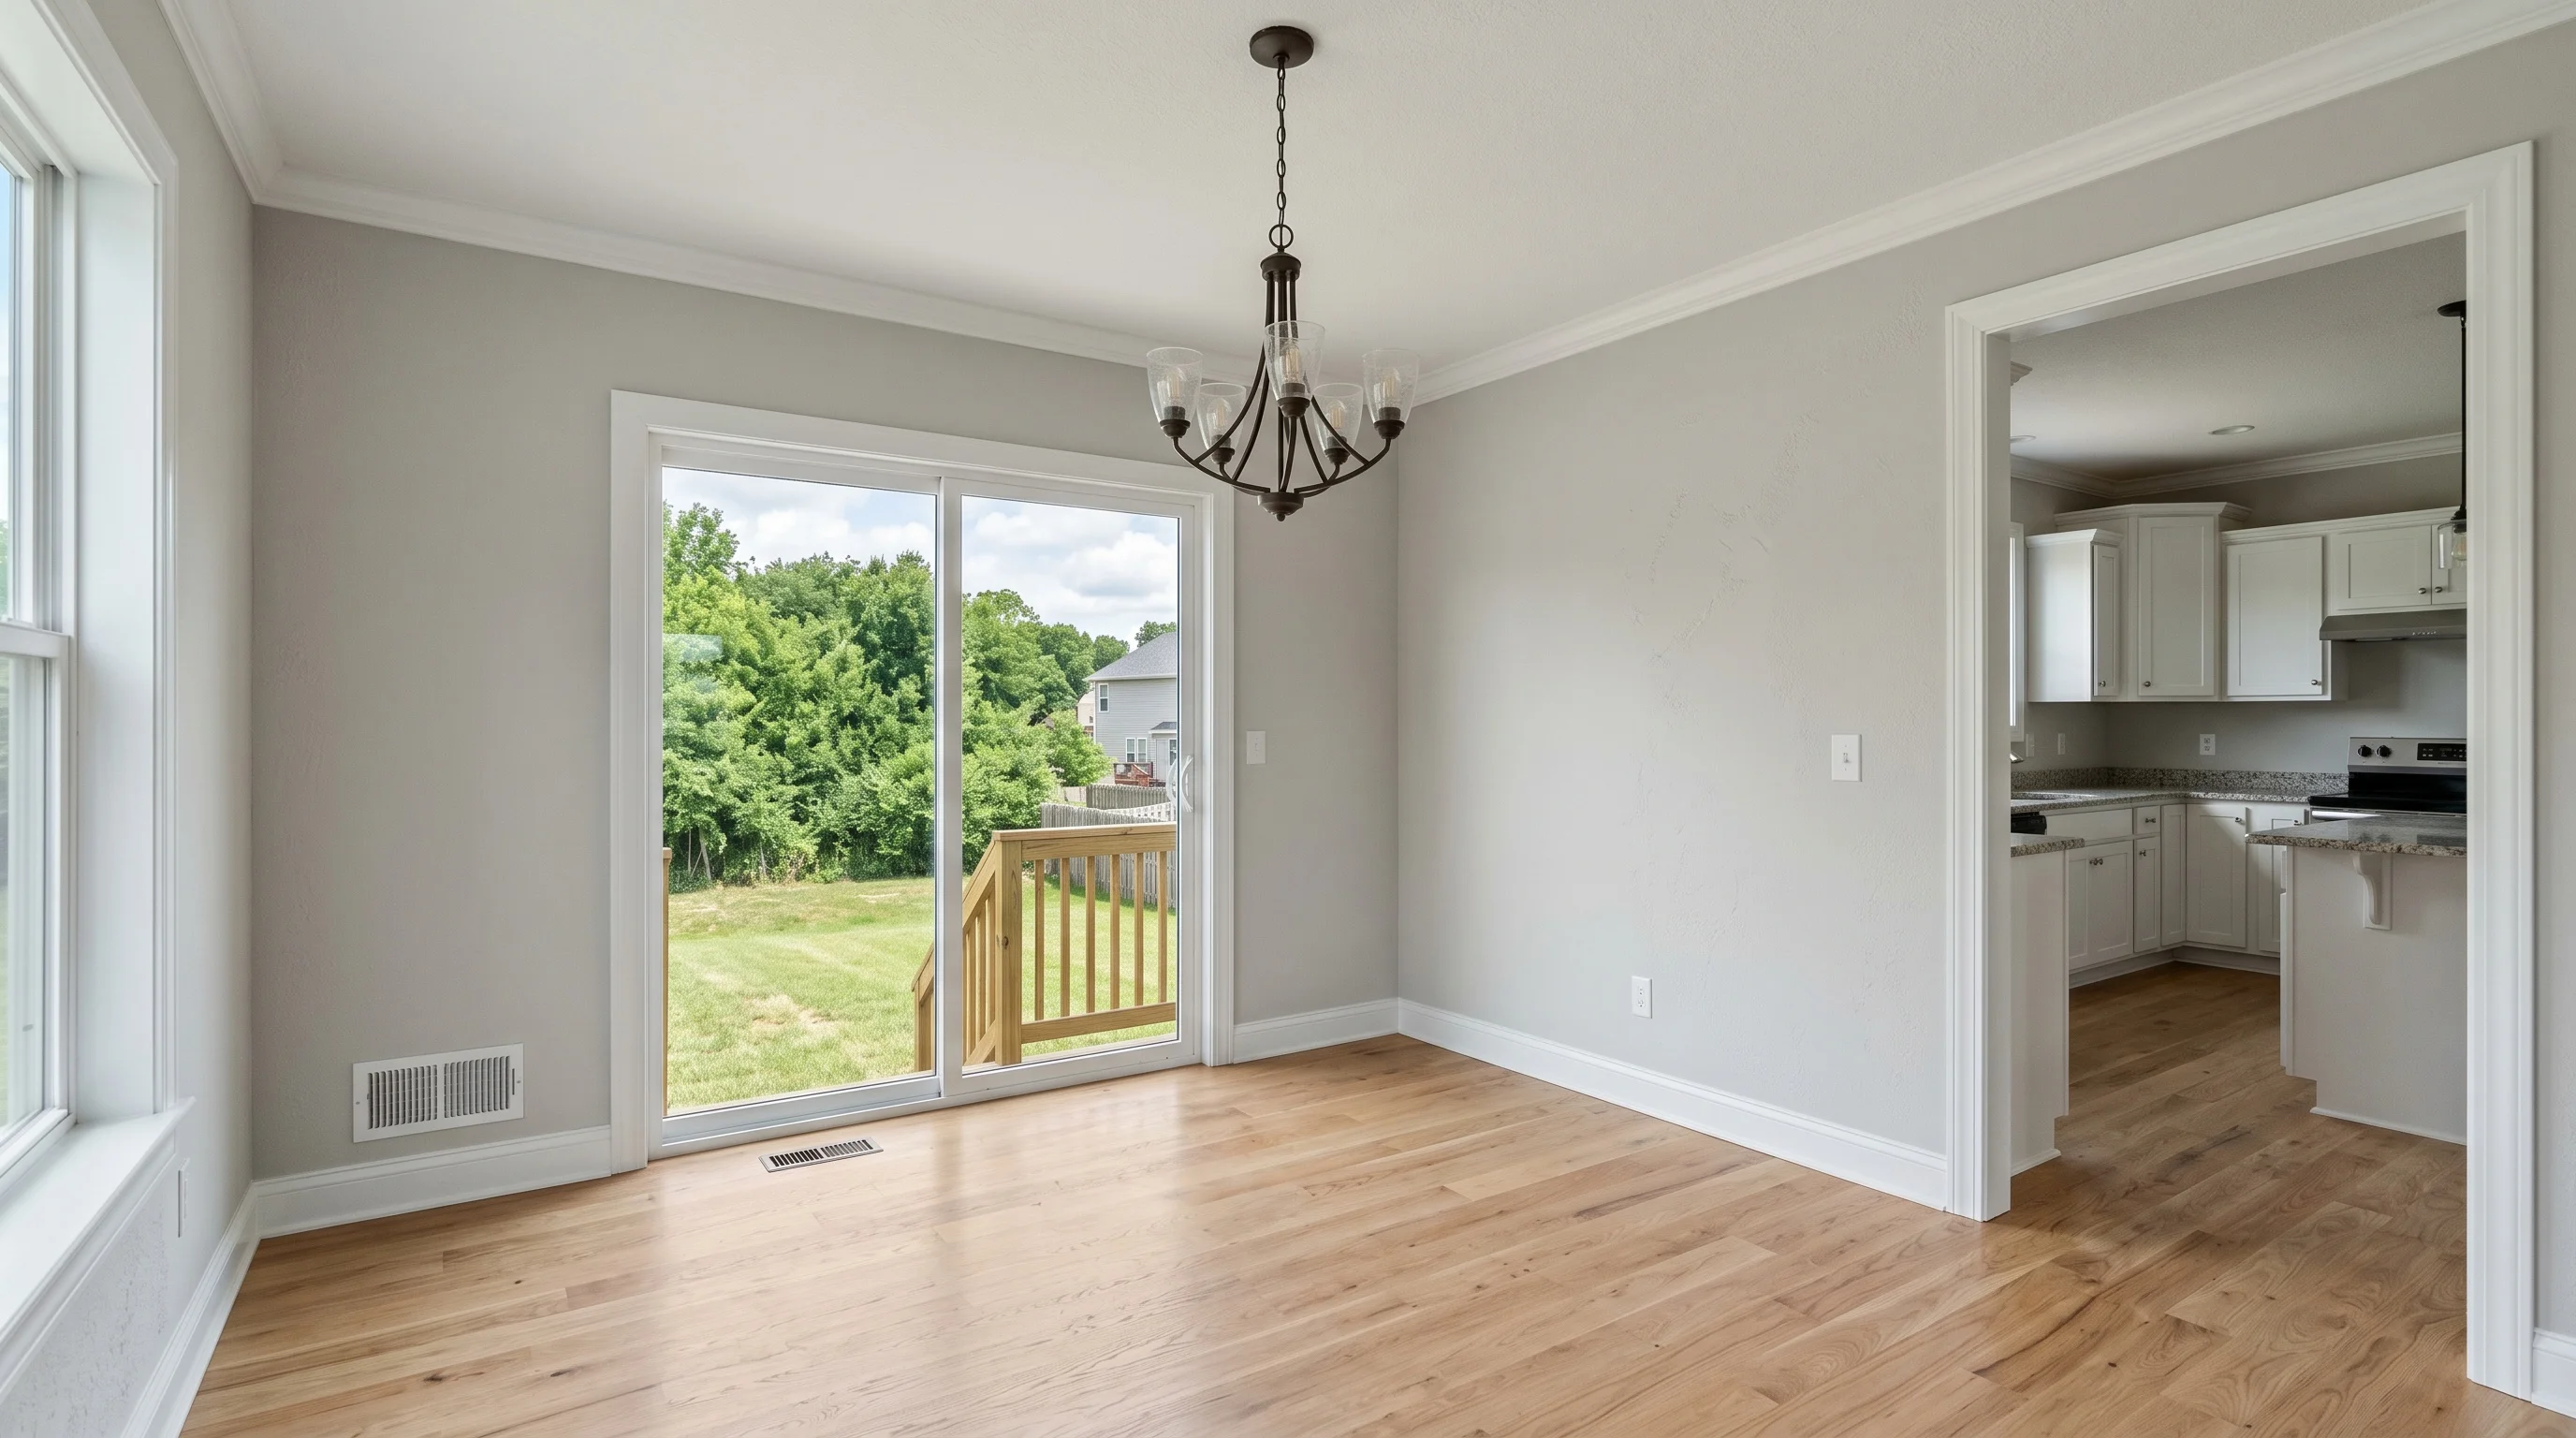
| Dining Room | "Use a round table, not a rectangular one." | Followed — round table, style default overridden |
| Kitchen | "Add two bar stools at the island, nothing else." | Followed — exactly two, nothing extra added |
| Home Office | "Include exactly one chair — no second seat." | Followed — one chair, no second seat |
| Bedroom | "Keep the corner by the window completely empty." | Missed — a nightstand and lamp landed right there |
The four that worked have one thing in common: each names a specific object and pins one fact about it — where it goes, what shape it is, or how many there are. After the render, you can point at the photo and say yes or no. There's no interpretation involved.
That's the whole rule. An instruction that can be satisfied by putting one identifiable thing in the picture lands reliably. Anything else is a weaker bet, including instructions that sound equally specific.
Where it breaks down: "keep this area empty"
The bedroom instruction is the useful one, because it fails the rule while looking like it passes it. "Keep the corner by the window completely empty" is physical and concrete-sounding — and it still didn't hold.
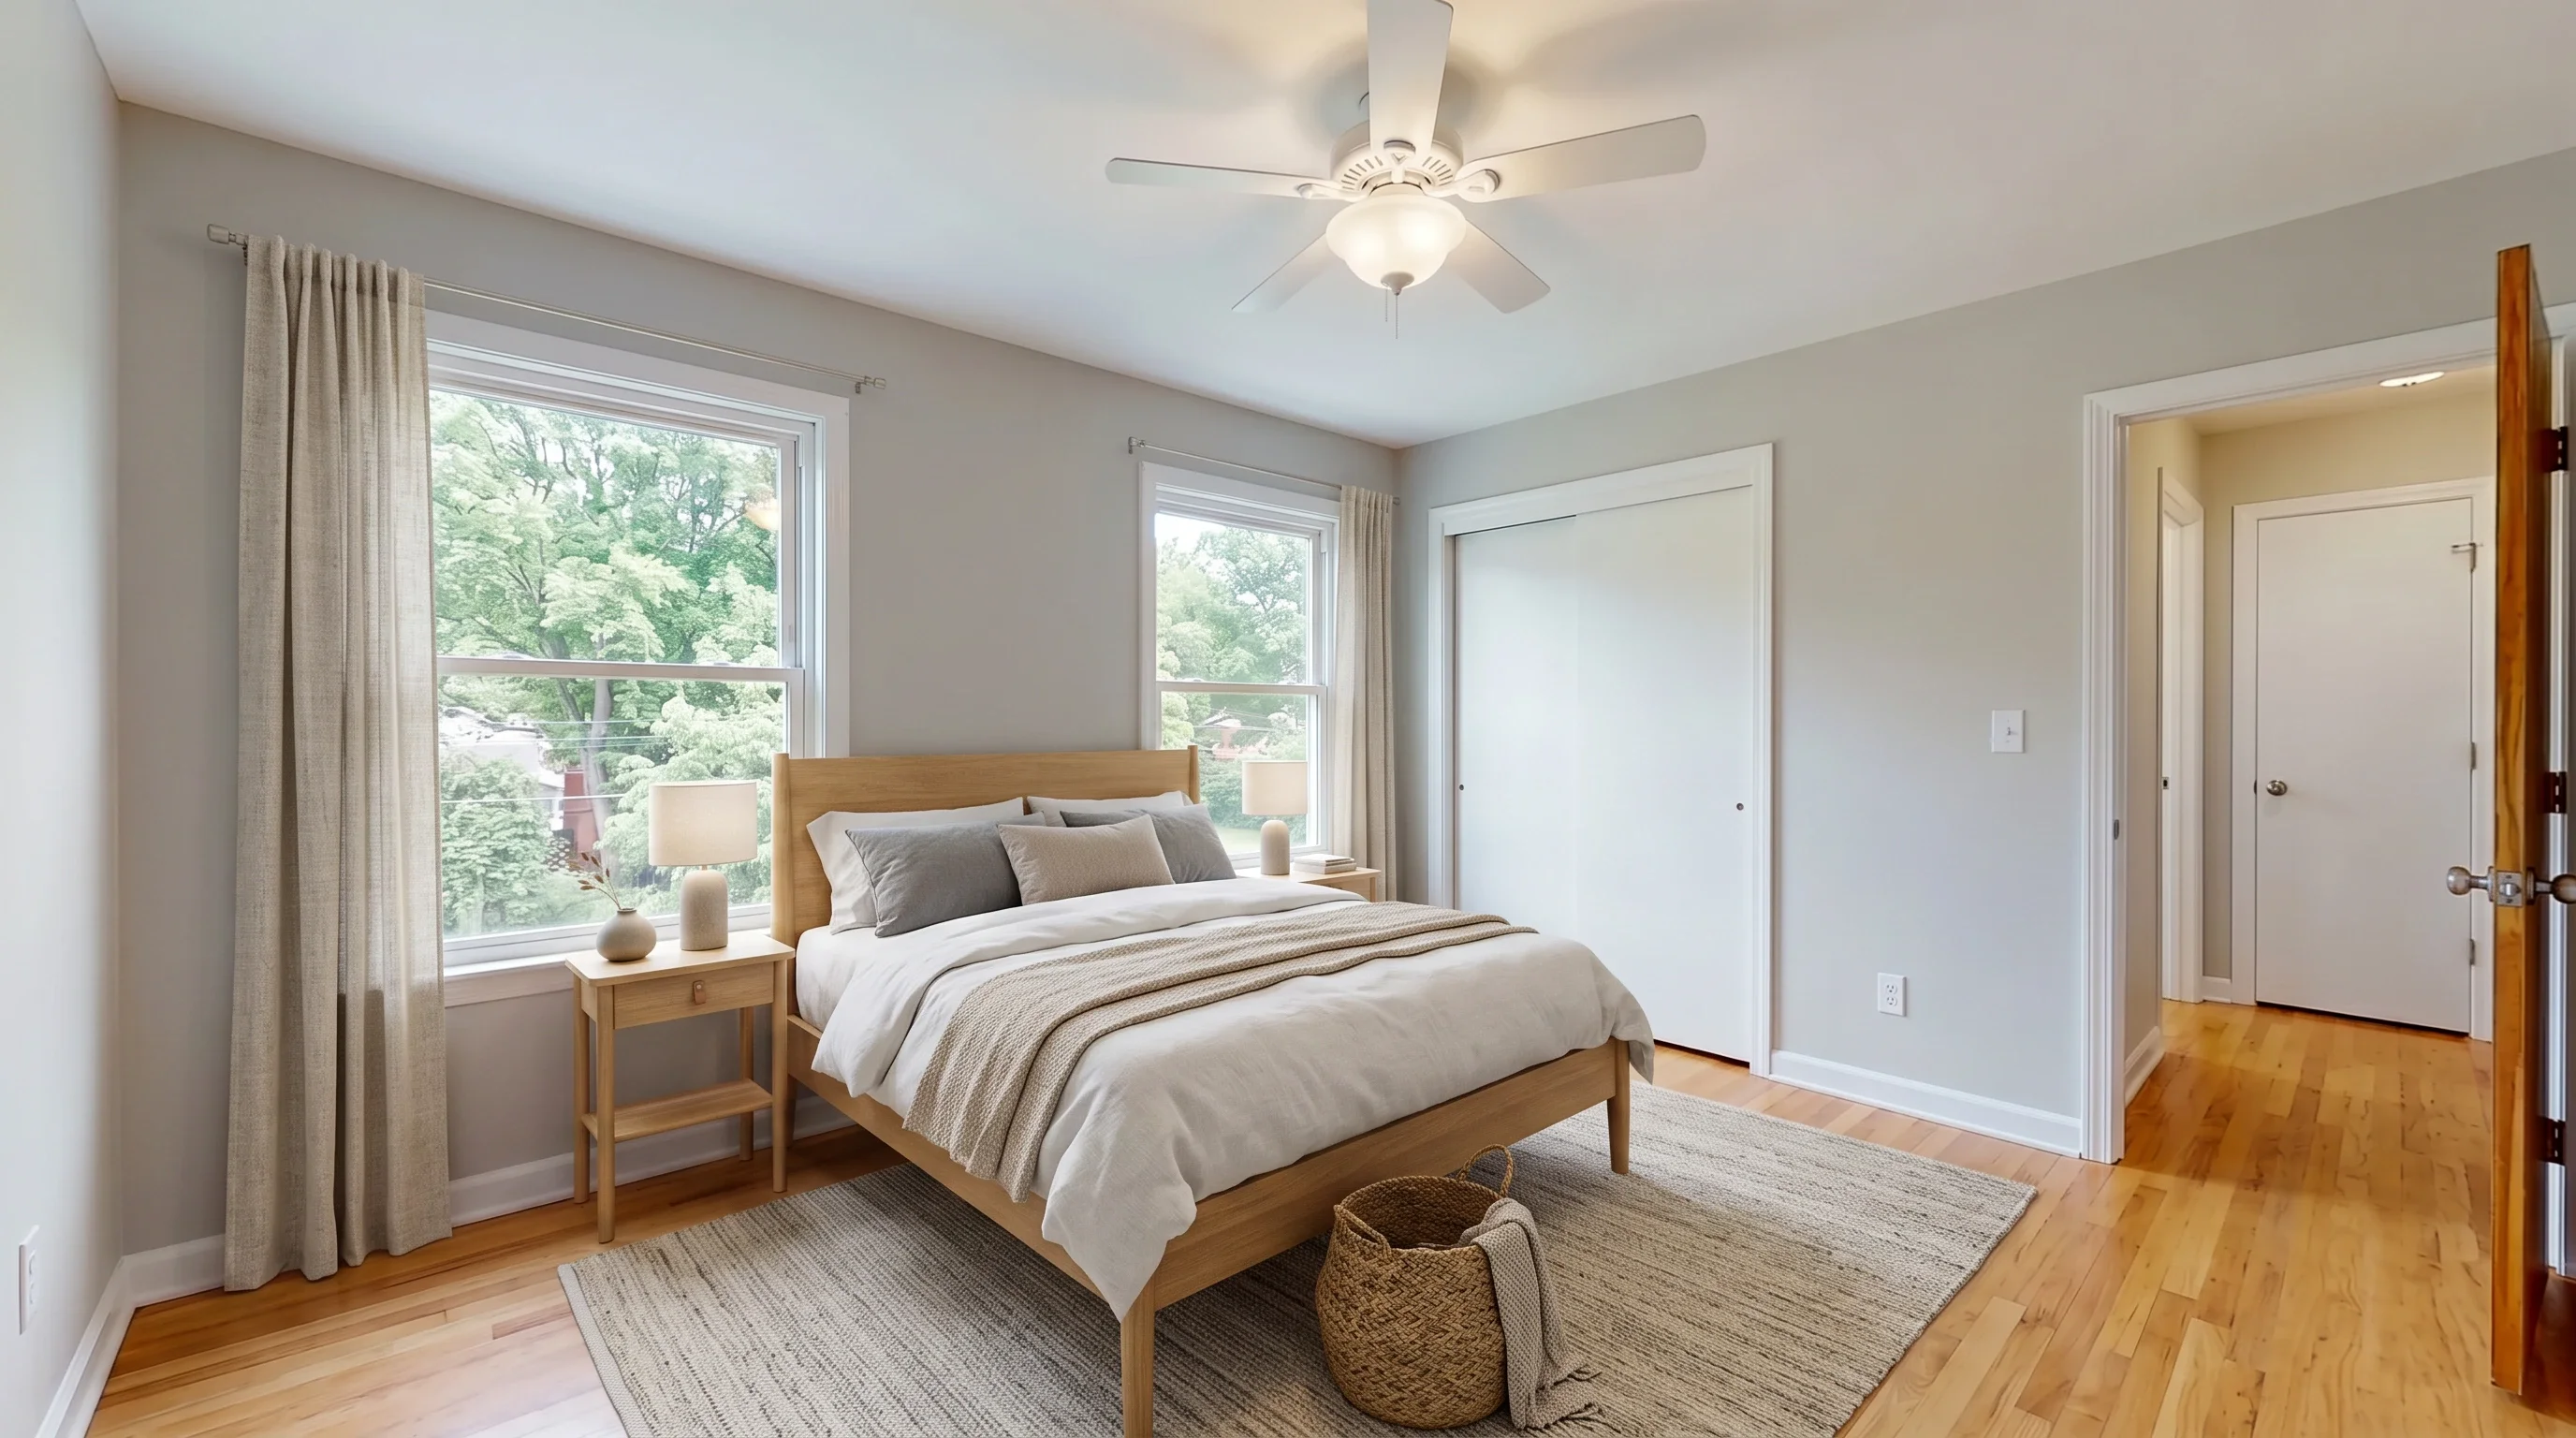
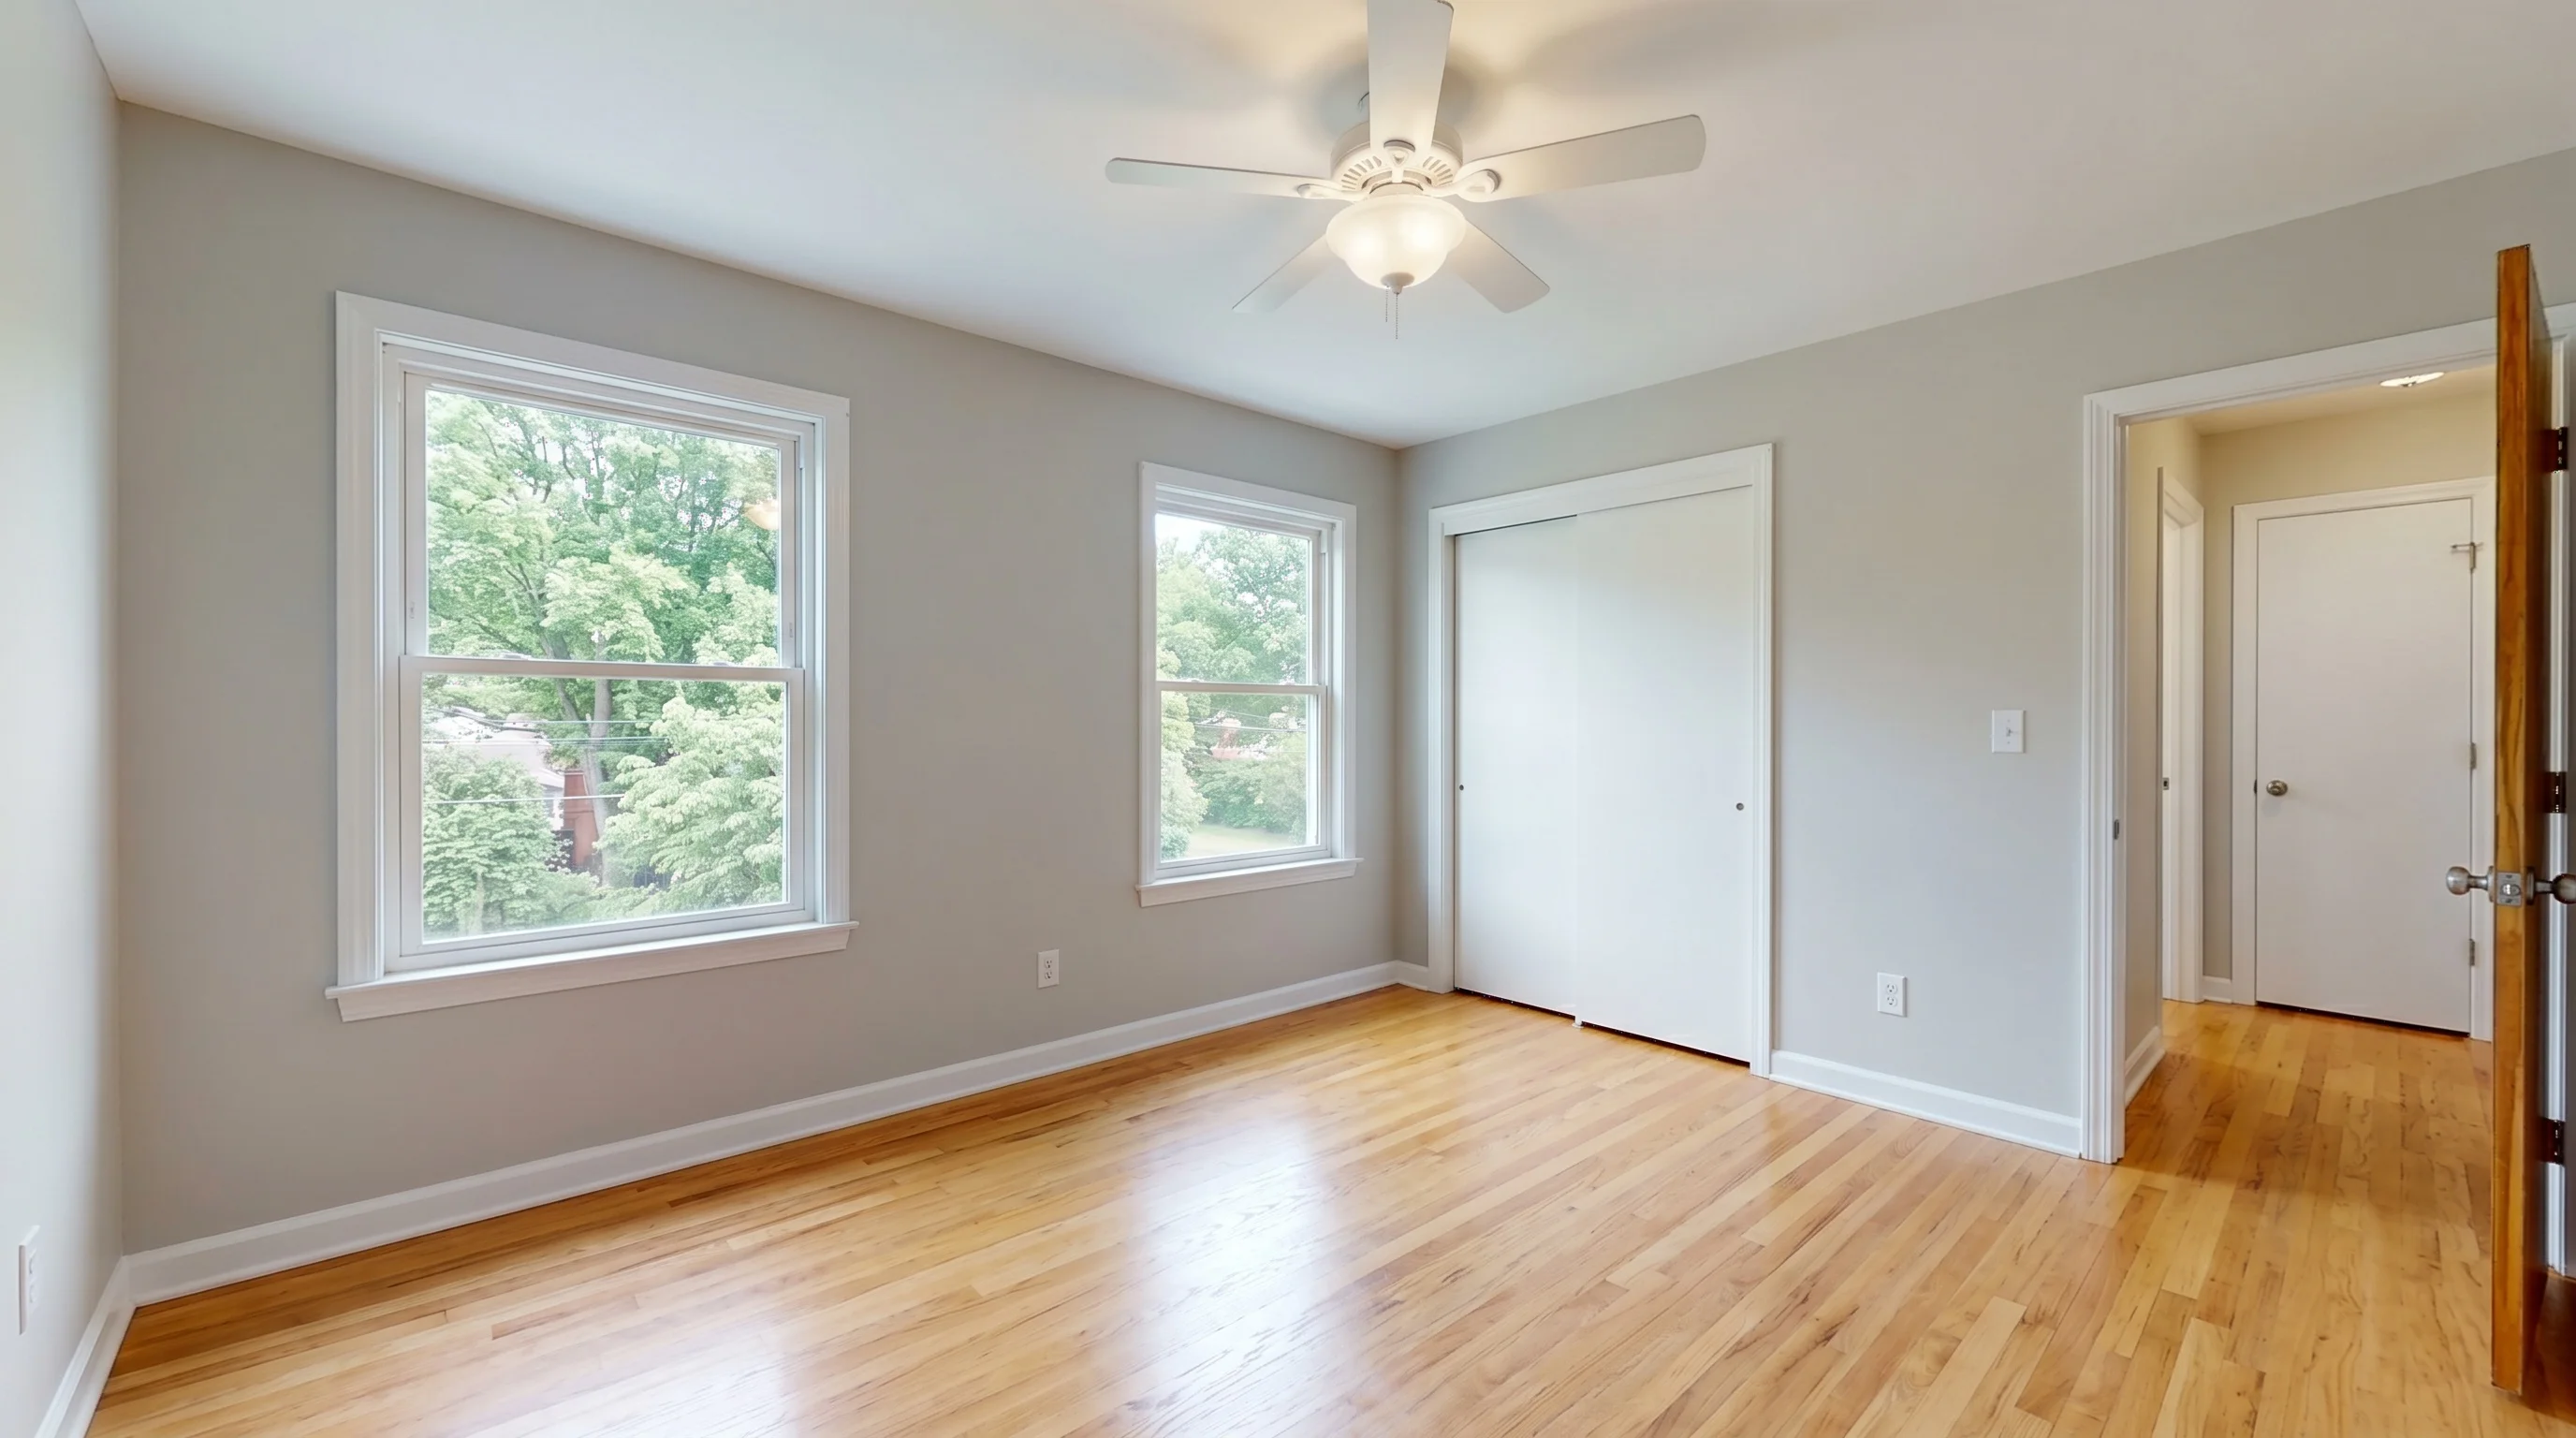
Two things work against it. "The corner by the window" is a zone, not an object — and this room has two windows, so which corner isn't even pinned down. And a bedroom without a nightstand reads as unfinished to a model whose job is to furnish rooms, so the room-type default actively pushes back against the instruction instead of yielding to it.
The fix is to turn the absence into a placement. Instead of protecting an area, say where the thing goes:
| Instead of | Write |
|---|---|
| "Keep the corner by the window empty" | "Put the nightstand on the left side of the bed only" |
| "Don't put anything on the far wall" | "Put the dresser on the wall opposite the bed" |
| "Leave the entry area clear" | "Keep the furniture grouped around the fireplace" |
Each rewrite gives the model one object and one location — back inside the rule that works — while getting you the empty space you actually wanted.
Some absence instructions are better behaved than the bedroom case: "no rug on the hardwood floor" names a single object that either appears or doesn't, rather than a fuzzy zone, so it's a much smaller ask. That's a reasonable bet, but it's not one this round tested — treat any "don't add X" instruction as worth checking on the result rather than assuming it held.
What else gets diluted
Bundled, multi-part instructions. "Add a reading chair, keep the rug out, use blue accents, and don't add anything on the mantel" is four instructions in one sentence. The more you bundle, the more likely one part gets deprioritized. Lead with the single change that matters most, check the result, then adjust.
Exact measurements. "Put the bed against the far wall" is a placement instruction — the kind that works. "Centered exactly 2 feet from the door" asks for more control than these tools currently guarantee. Treat placement as a strong steer, not a blueprint.
"Don't change anything else." You don't need it. Walls, windows, doors, and floors are protected by the tool's structure lock regardless of what you type, so this instruction is redundant — and it spends room you could have used on a specific piece of furniture instead.
Subjective direction. "Make it feel more luxurious but not too formal" asks the model to reinterpret the whole room. Your chosen design style already encodes a strong opinion about that, and it will win. Pick the style that's closest and let it do that job.
A workflow that avoids most of this
- Pick the right tool first — occupied and cluttered needs Furniture Removal; empty needs Virtual Staging.
- Set room type and design style. These do most of the work and are the most reliable inputs you have. Many photos need nothing beyond this.
- Add one instruction only if you have a real constraint — a piece that must appear, or a placement that matters. Name the object.
- Check the result against your instruction, not just against "does it look good." A photo can look great and still have missed what you asked — especially if you asked for absence. Our pre-publish checklist covers what to verify before a photo goes on a listing.
- If it missed, regenerate rather than writing a longer instruction. A second attempt with the same short instruction usually beats a longer, more qualified one — and it doesn't cost another photo from your quota. You get up to 3 versions of the same photo on the free tier and up to 15 on paid plans. If the result is off in a way that isn't about your instruction, why AI virtual staging looks fake covers the other causes.
Why this happens, in plain terms
AI staging tools work from a structured prompt: hard rules protecting the room's architecture, a design style, a room type, and — if you provide one — your instruction, all combined into what the model actually sees. A short instruction naming one object reads clearly against that backdrop. A vague, bundled, or absence-shaped one has more surface area to get outweighed by the style and room defaults sitting right beside it. This isn't unique to any one tool; it's how instruction-following behaves across generative image models. Working with it beats fighting it.
Frequently Asked Questions
Why didn't the AI follow my custom staging instruction?
The most common reasons: you used Virtual Staging when you needed Furniture Removal (or vice versa), the instruction was bundled with several other requests, it asked for exact positioning, or it asked for something not to be there. Instructions that name a specific object and pin one fact about it — where it goes, what shape, how many — get followed far more reliably.
Why didn't the AI leave a corner or nook empty like I asked?
"Keep this area empty" is the least reliable kind of instruction, even though it sounds concrete. We tested it directly: "keep the corner by the window empty" on a bedroom still produced a nightstand and lamp in that exact spot on the first render. A zone isn't an object, and a bedroom without a nightstand reads as unfinished to the model. Rewrite it as a placement instead — "put the nightstand on the left side of the bed only" — which gets you the same empty space using an instruction the model can actually satisfy.
What's the difference between virtual staging and a furniture eraser?
Virtual staging adds furniture and decor to a room — it's built for empty or sparse spaces. A furniture eraser removes existing items from a photo — it's built for occupied rooms you want decluttered. They're opposite jobs; using the wrong one is the single most common reason results don't match expectations.
How specific should a virtual staging instruction be?
Specific about an object, not about a feeling. "Include a bookshelf against the right wall" and "use a round table, not a rectangular one" both held up in testing. "Make it feel more upscale" doesn't work as well, because it asks the model to reinterpret the whole room — and your chosen design style already carries a strong opinion about that.
Can I give more than one instruction at once?
You can, but each one competes for weight with the others and with your style and room defaults. If the photo matters, lead with your single most important instruction, check the output, then iterate — rather than bundling four requests into one attempt.
Can I ask AI virtual staging not to change the walls or windows?
You don't need to — a tool with a genuine structure lock already protects architecture (walls, windows, doors, floors) regardless of instructions. Adding "don't change the structure" doesn't help, and it uses space better spent naming a piece of furniture.
Why did the AI add furniture when I wanted a room decluttered?
That's the wrong tool for the job, not an instruction problem. Virtual Staging's job is to add furniture and decor — asking it to declutter doesn't switch its function. For an occupied room you want cleared, use Furniture Removal, which is built to remove items rather than add them.
Does the room type and style matter more than my custom instruction?
They carry real weight — room type and style set the baseline, and your instruction is layered in as an additional input rather than a total override. That's exactly why an instruction naming one object ("include a bookshelf against the right wall") lands more reliably than one describing a zone ("keep this corner empty").
Try One Instruction on Your Own Room
Upload a listing photo, pick the room type and style, then name one thing — 'include a bookshelf against the right wall.' Result in about 30 seconds. 3 photos free, no credit card.
Stage a Photo FreeNeed to clear an occupied room first? Try Furniture RemovalMore from the blog
Related reading
Best Source Photos for AI Virtual Staging
AI staging tools don't reject a bad photo — they quietly stage it badly. A pre-upload checklist for angle, light, resolution, and what to never upload.

Virtual Staging Service: When to Hire vs Use AI
How virtual staging services work, what they cost, and when hiring a designer still beats doing it yourself with AI — an agent's 2026 comparison.

How Much Does Virtual Staging Cost? 2026 Price Guide
How much does virtual staging cost in 2026? Compare AI ($1–$5/photo), manual designer ($25–$75), and physical staging ($2,000+) — plus what's free.