These four tools get confused constantly because they all fall under "AI real estate photo editing" — but each one solves a different problem, and using the wrong one is the fastest way to end up with an unrealistic or non-compliant listing photo. Here's the one question that routes you to the right tool.
The one question: what's actually wrong with this photo?
Room is empty → Virtual Staging
Room has old furniture or clutter → Furniture Removal (then stage if needed)
Room's finishes look dated (cabinets, counters, flooring) → Virtual Renovation
Exterior photo was shot in flat daylight → Virtual Twilight
Photo already looks good as-is → Don't edit it
That's the whole decision. The rest of this guide walks through why each branch exists and where agents most often pick the wrong one.
Virtual Staging — the room is empty
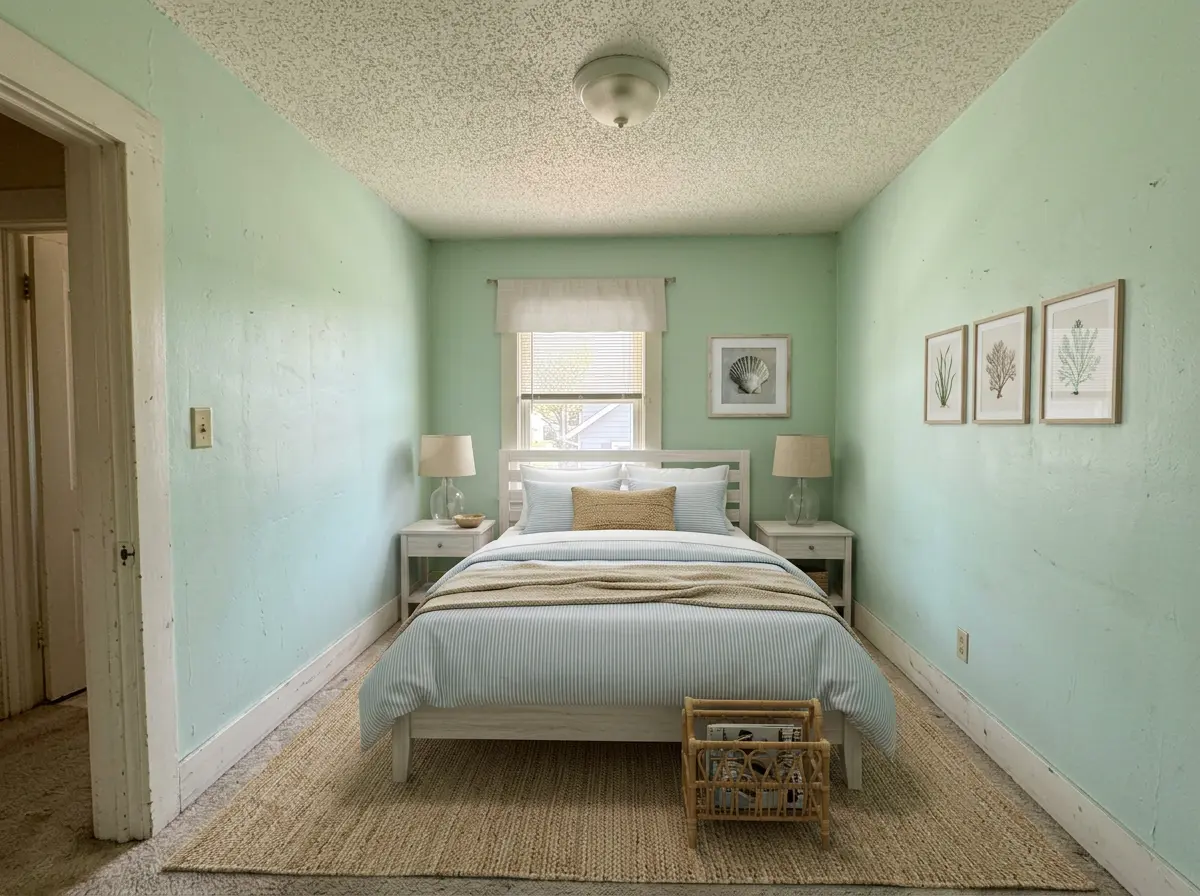
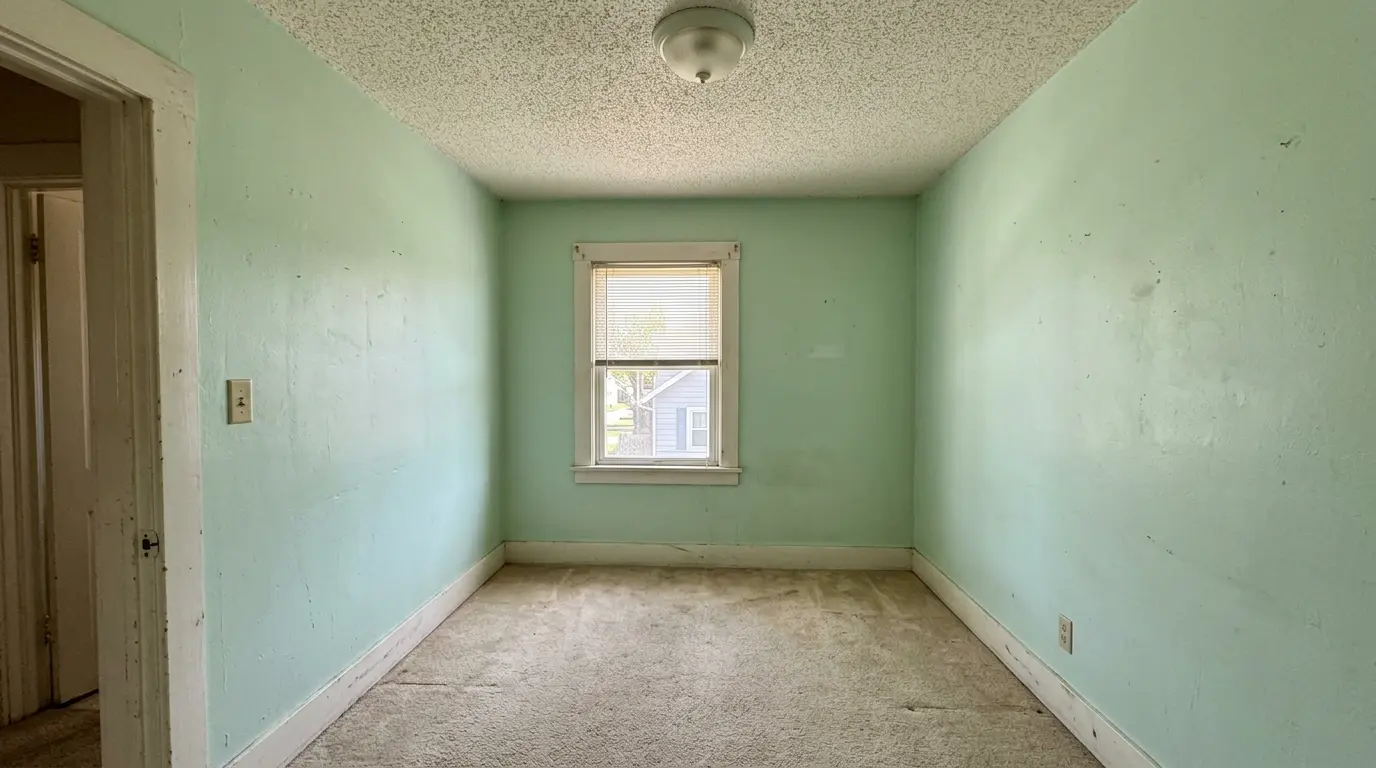
What it does: adds furniture, rugs, art, and decor to an empty room. The pipeline is constrained to leave the walls, windows, flooring, and fixtures alone and add only furniture. Generative models can still misfire, so compare the result against your original before you publish.
Use it when: the room is vacant and buyers can't tell how it would function furnished. Living rooms and primary bedrooms benefit most — see our room-by-room staging priority guide for which rooms are worth staging at all.
Don't use it for: a room that already has furniture in it (see Furniture Removal below), or to change anything about the room itself — walls, flooring, and fixtures are off-limits. If you catch yourself wanting to also "fix" the cabinets while staging, that's a different tool (Virtual Renovation).
Furniture Removal — the room has furniture, but it's the wrong furniture
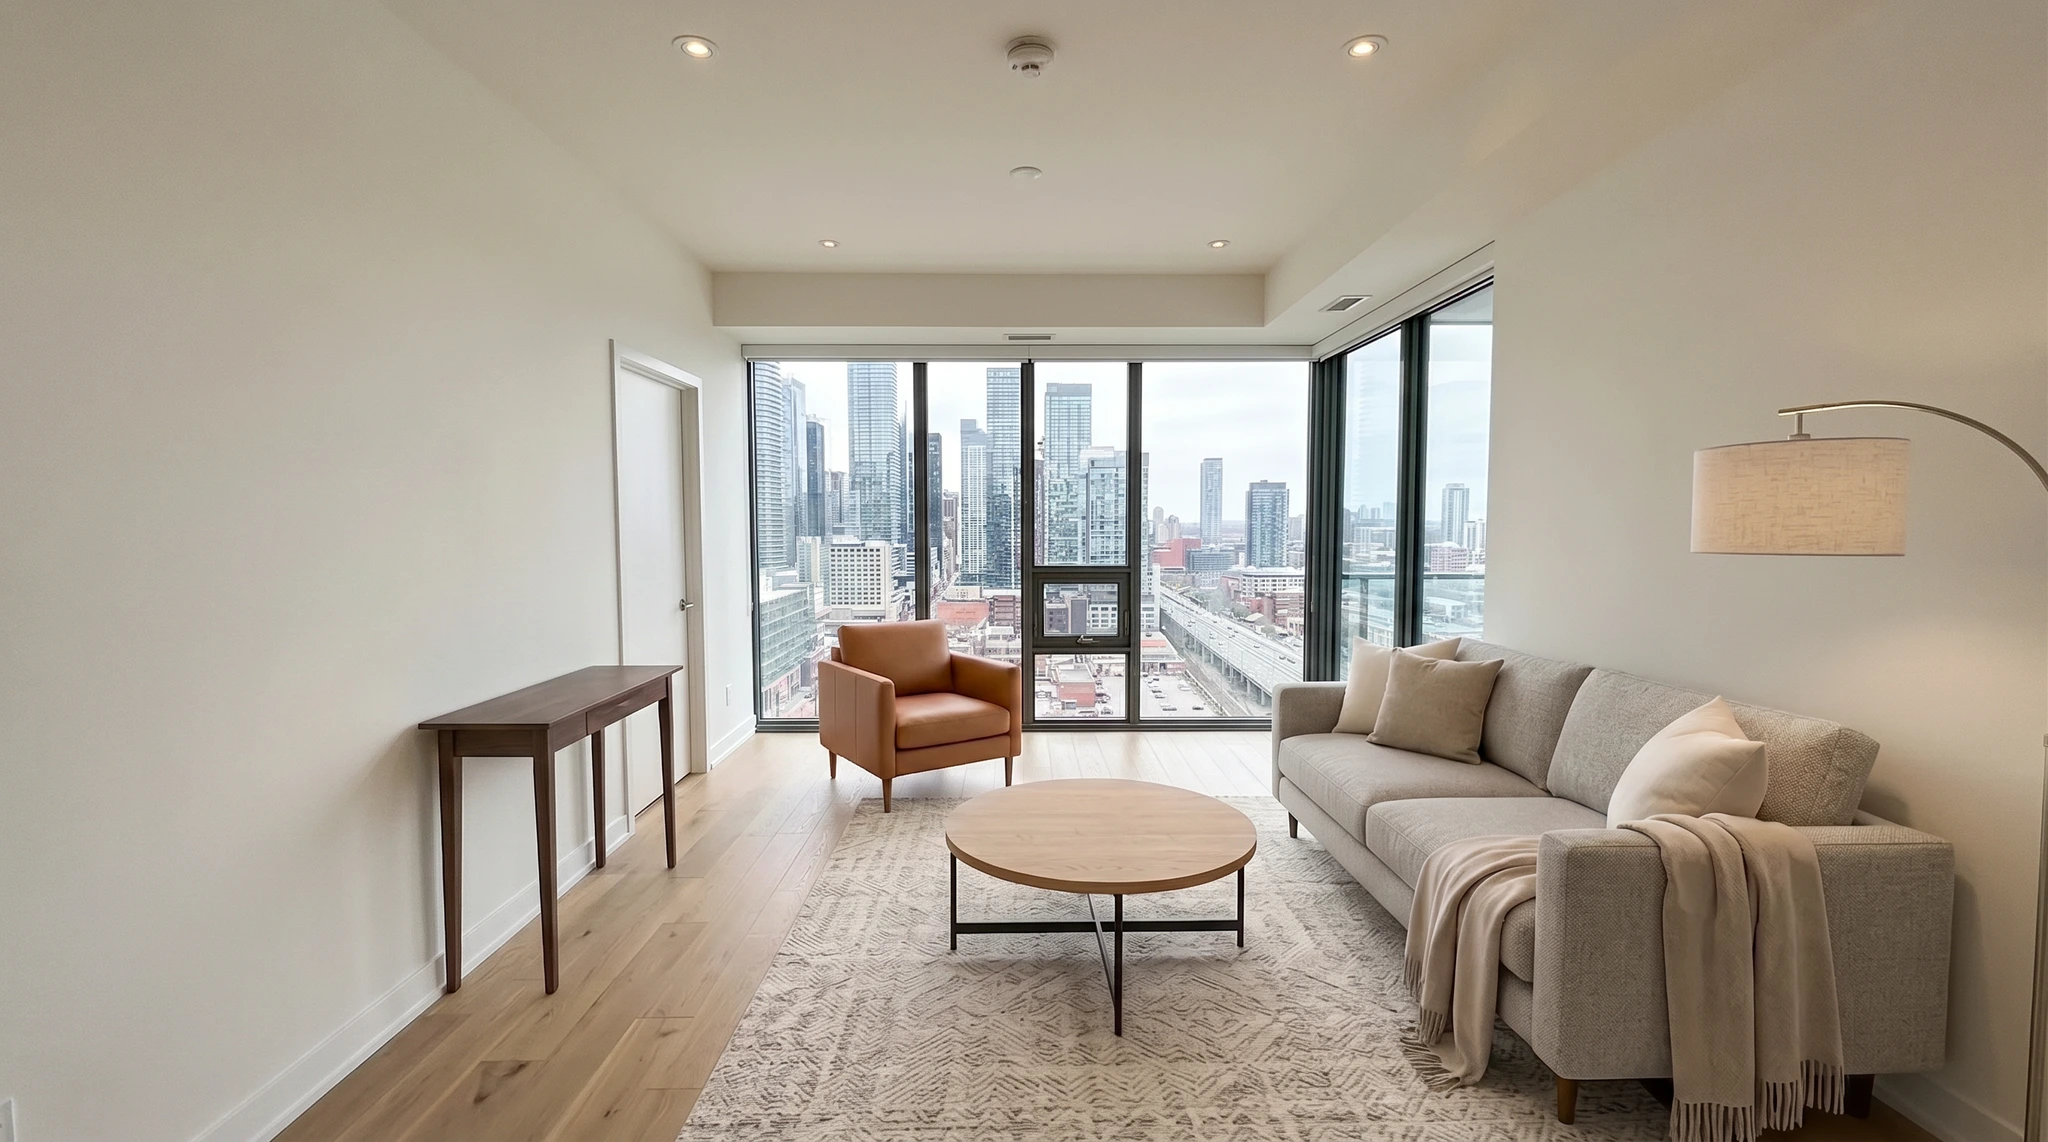

What it does: removes existing furniture and clutter from a photo, leaving a clean empty room. It's the step before staging, not a replacement for it.
Use it when: the room is occupied — the seller's dated sofa, a home office setup, moving boxes, personal photos on the walls — and you need it empty before you can stage new furniture in. Lightly furnished, tidy rooms are often handled by a staging tool's built-in removal step in one pass; heavily cluttered or fully lived-in rooms benefit from running Furniture Removal first as a separate step, so you can confirm the empty room looks right before staging it. See Virtual Furniture Staging for the full empty-vs-occupied workflow.
Don't use it for: removing structural elements (a radiator, a built-in) — that crosses from decluttering into altering the room, which is the same line virtual staging can't cross either.
Virtual Renovation — the room's finishes look dated
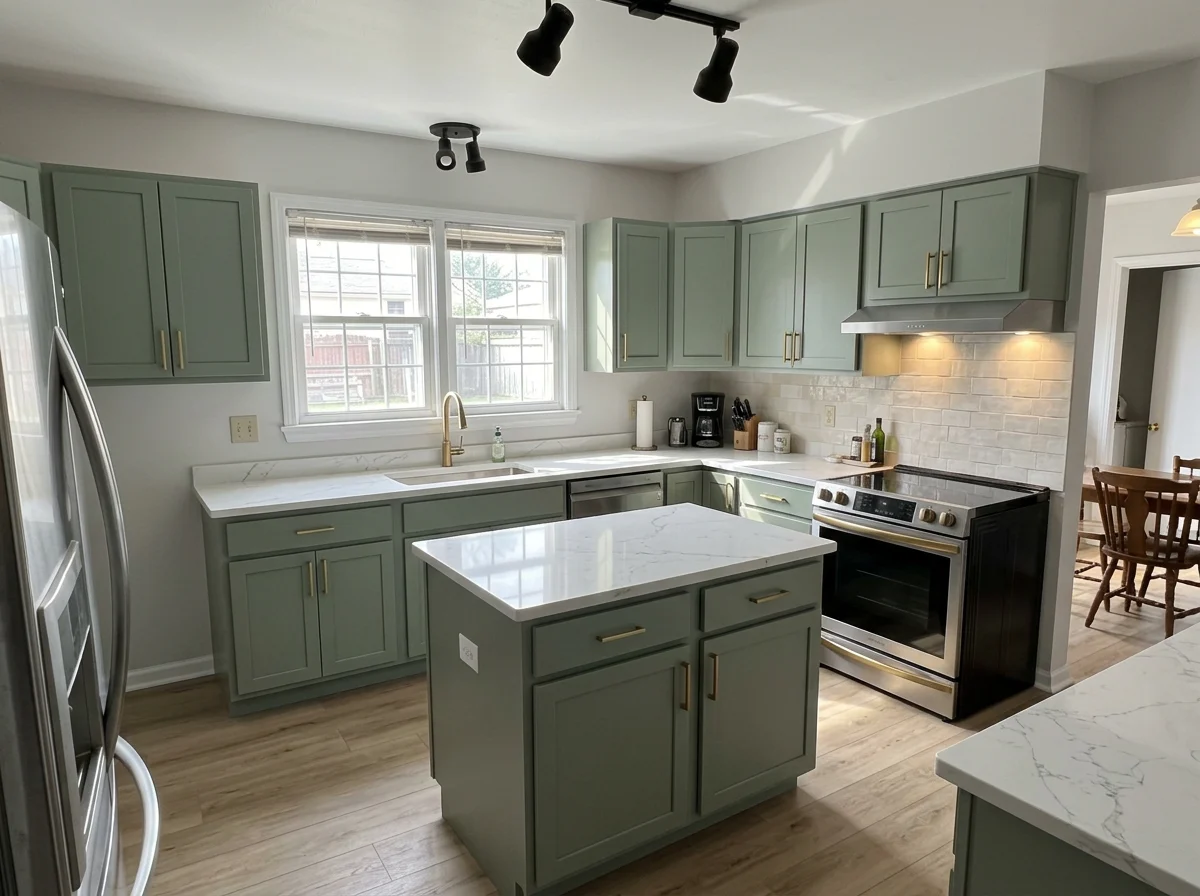
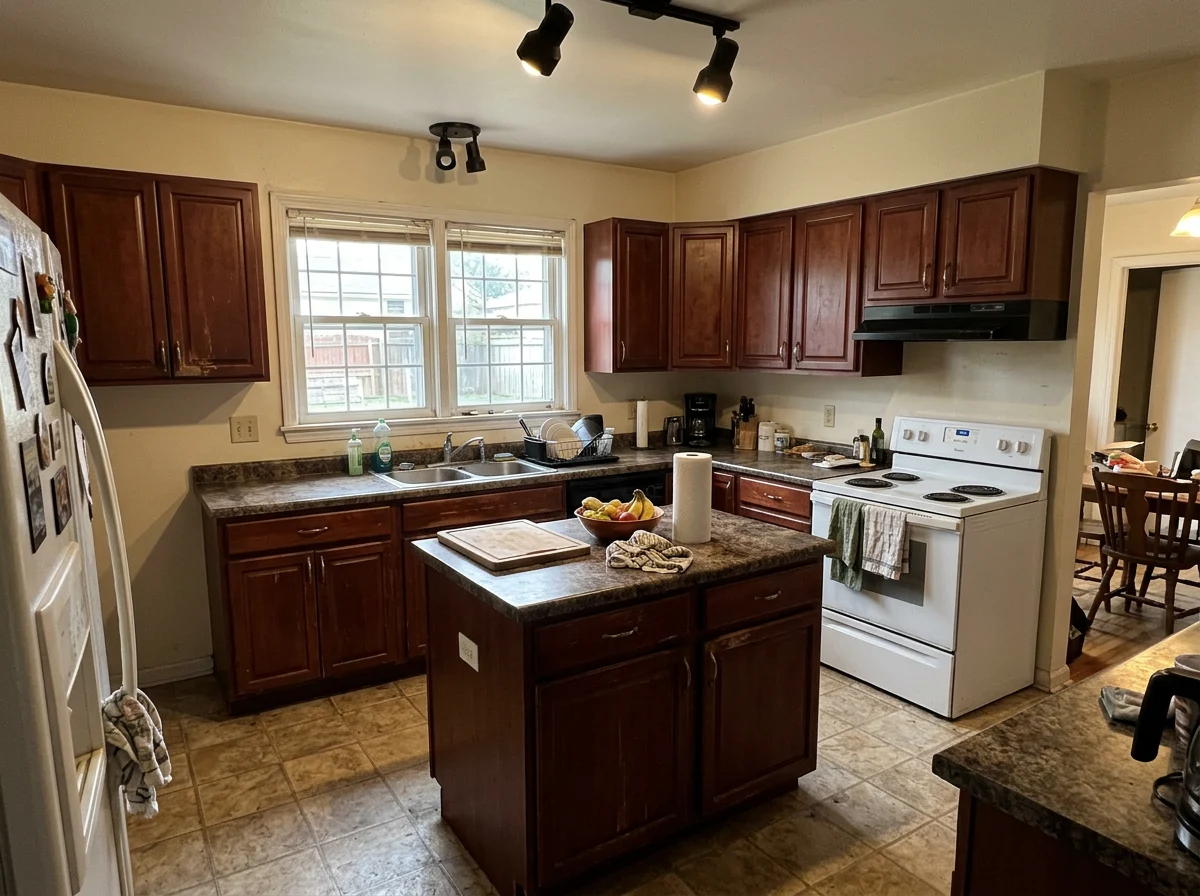
What it does: changes the finishes — cabinet color, counters, backsplash, flooring, paint — while keeping the exact room, layout, and camera angle. This is a bigger claim than staging: you're showing imagined finishes on a real room, not imagined furniture in an empty one.
Use it when: the kitchen or bathroom layout is fine but the finishes read "dated" — oak cabinets, laminate counters, a home from a fixer or estate sale where you want to attract buyers who'll renovate. See Virtual Kitchen Renovation for the full disclosure requirements, which are stricter than staging's because the claim is bigger.
Don't use it for: a kitchen or bathroom that's already updated (nothing to gain), or as a substitute for staging an empty room — renovation changes finishes, not furniture, and mixing the two jobs in one edit makes the result harder to disclose accurately.
Virtual Twilight — the exterior was shot in flat daylight
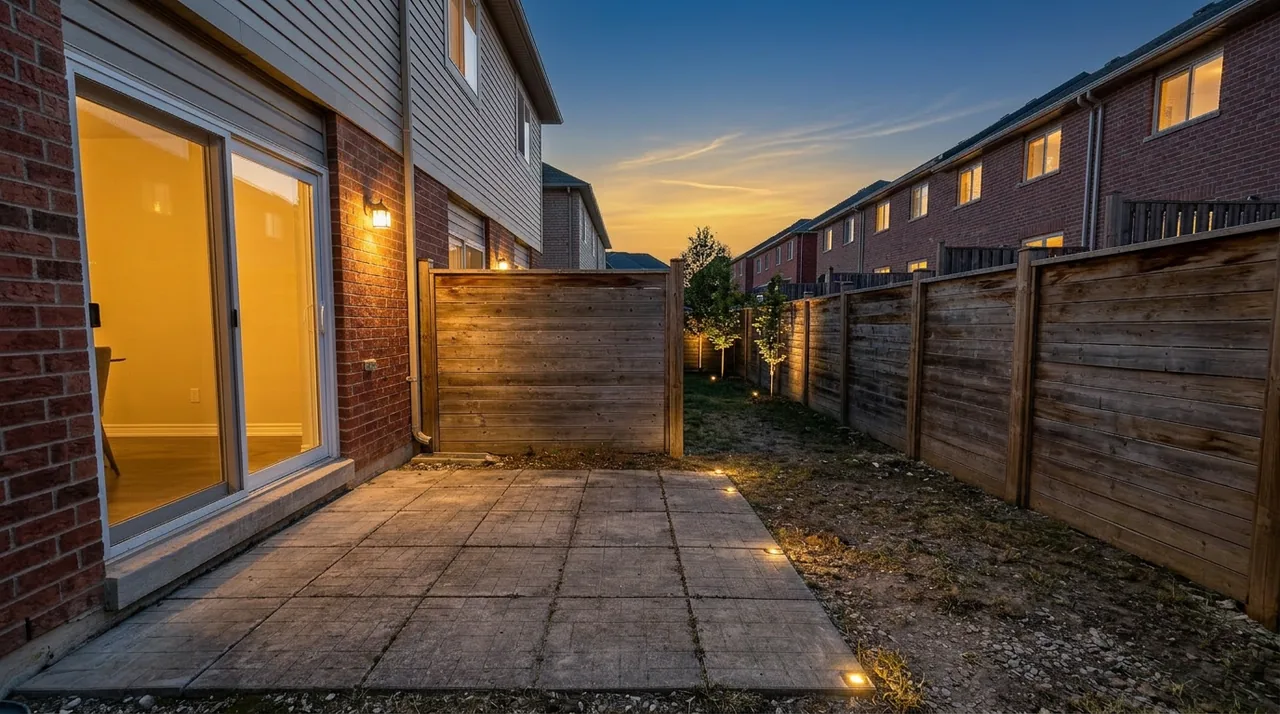
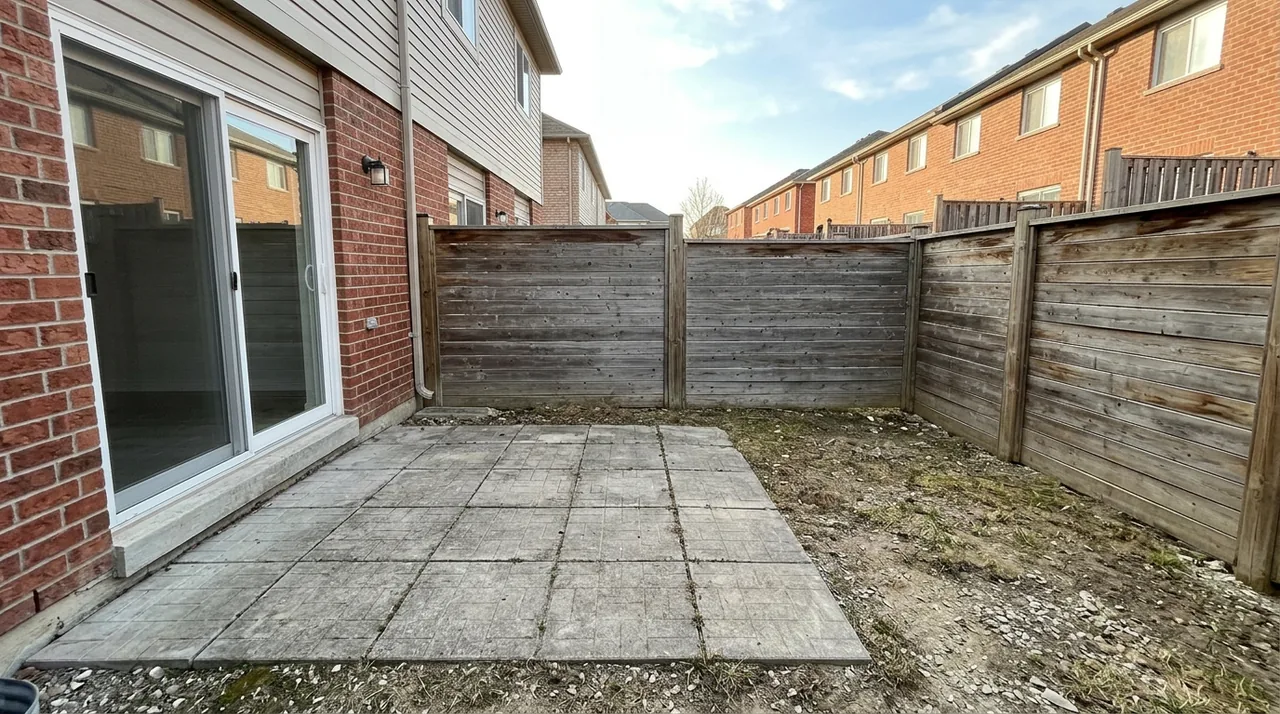
What it does: converts a daytime exterior into a golden-hour or dusk scene — warm lit windows, a matched sunset sky, recast shadows. It doesn't touch the interior or the structure at all.
Use it when: the exterior/curb-appeal photo was shot midday under flat, harsh light and needs to stand out in a thumbnail grid against other listings. See Virtual Twilight Photo Editing for what separates a convincing twilight edit from an obviously fake one.
Don't use it for: interior rooms — twilight editing is exterior-only. It's also not a fix for a photo with a genuinely bad composition or a cluttered yard; twilight changes lighting, not what's in frame.
When the answer is "don't edit this photo"
Not every photo in a listing needs one of these four tools. Skip editing entirely when:
- The room already photographs well and doesn't need furniture, updated finishes, or a lighting change to make its case (kitchens and bathrooms often fall here — buyers judge fixtures directly, not staging).
- The photo has a structural issue — water damage, a crack, a sagging ceiling. None of these four tools fix a defect, and layering an edit on top of one risks looking like you tried to hide it.
- You're duplicating an angle you already staged. Stage the hero shot for a room, not every angle of it.
Full workflow, disclosure rules, and failure modes for each one
Frequently Asked Questions
Can I use more than one of these tools on the same photo?
Yes, in sequence when the room needs it — the most common combination is Furniture Removal to clear a cluttered occupied room, followed by Virtual Staging on the resulting empty photo. Virtual Renovation and Virtual Staging can also both apply to the same kitchen (updated finishes, then furniture) if the listing calls for it, but each edit should be disclosed separately since they're different kinds of claims. On the free tier, running two tools on one photo uses two of your free generations, not one — see below.
Does my free tier quota work the same across all four tools?
Yes — it's one shared allowance, not four separate ones. Your free generations cover Virtual Staging, Furniture Removal, Virtual Renovation, and Virtual Twilight together, so a photo you run through Furniture Removal and one you stage both draw from the same pool. Decide which tool the photo actually needs before you upload, rather than trying each one to see what happens — that's exactly what this guide's decision framework above is for.
What's the difference between Furniture Removal and Virtual Staging's built-in removal?
For a lightly furnished, tidy room, a staging tool's built-in removal step handles decluttering and furnishing in one pass. For a heavily cluttered or fully lived-in room, running Furniture Removal first as a separate step gives you a checkpoint — you can confirm the empty room looks right before staging new furniture into it, rather than asking one job to do both at once.
Is Virtual Renovation the same as Virtual Staging?
No, and confusing them is a disclosure risk. Virtual Staging adds furniture to an empty room — the room's walls, flooring, and fixtures are real. Virtual Renovation changes the finishes themselves (cabinets, counters, flooring) on a real room. Renovation is the bigger claim of the two, since you're showing buyers surfaces that don't currently exist.
Not Sure Which Tool Your Photo Needs?
Upload a listing photo and we'll route it to the right workflow — staging, decluttering, renovation preview, or twilight. 3 photos free, no credit card.
Upload a Listing PhotoMore from the blog
Related reading

Virtual Staging for Dining Rooms: Layouts, Styles, Costs
How to virtually stage a dining room: 4 layouts, 8 styles, pro stager rules, costs vs traditional staging, and what buyers spot in 10 seconds.
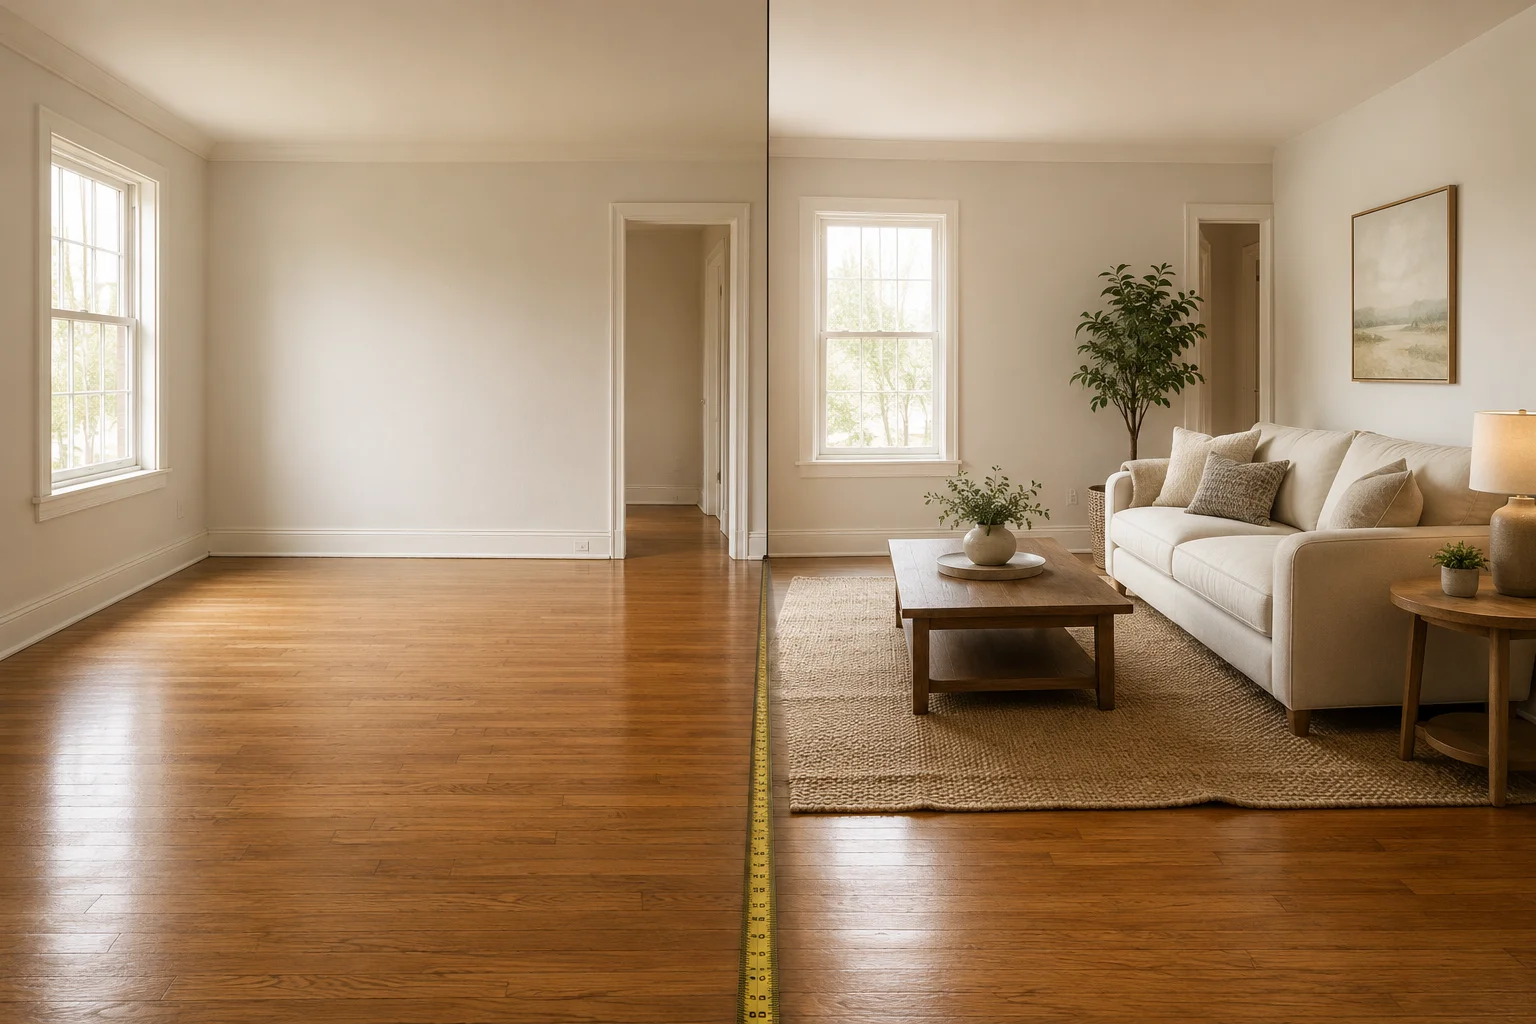
What Virtual Staging Should Never Change (Checklist)
A pre-MLS checklist for what AI virtual staging should never alter, and how to spot hallucinated details before you publish a listing photo.

Virtual Staging Photos: How to Get Listing-Ready Shots
What virtual staging photos are, how to get great ones, and the MLS disclosure rules — a practical 2026 guide for agents staging their own listings.